By now you’ve seen the finished product of our long basement remodel, but I wanted to record the many steps we took along the way. It’s fun to look back on these photos and remember how often I felt like it would never be done. I also remember in our early-married years wishing for a finished basement, and today, we have just that! It’s funny how we can spend so much time pining for what we don’t have, only to sometimes take it for granted when we do. Writing this post is a reminder to stop and savor what we’ve accomplished. Ready for some very scary basement pics?
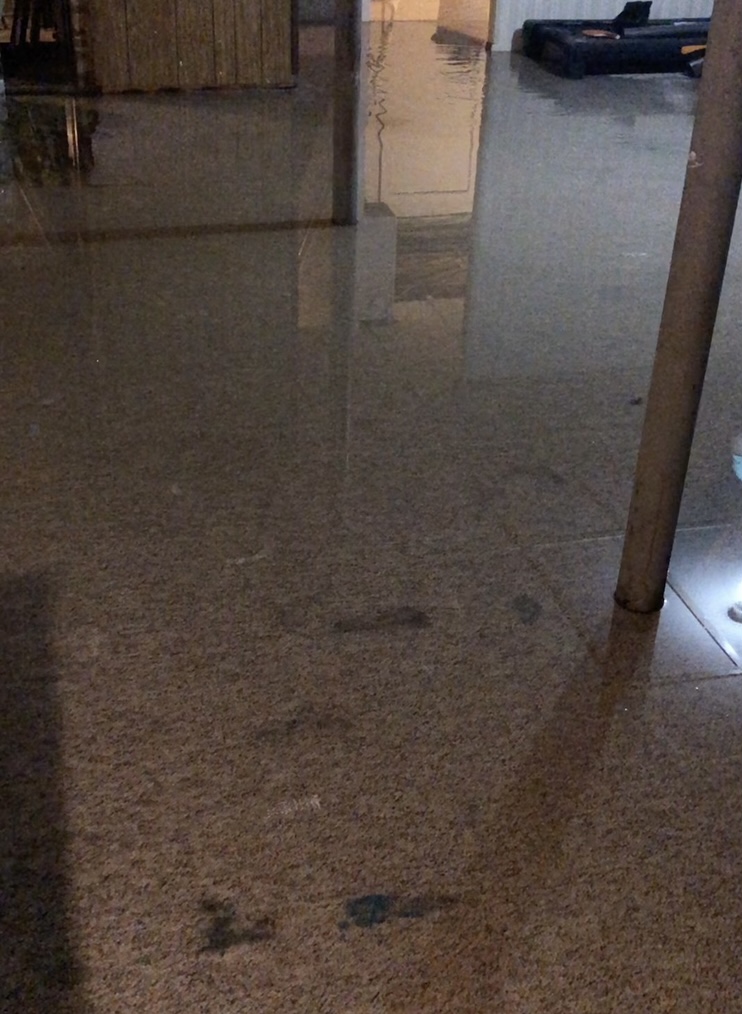
It all started one rainy April weekend in 2021 when we came home to discover the street backing up into our basement shower. There was standing water everywhere and it kept gushing in. A call to the non-emergency police line revealed that there was nothing the city could do. We would have to wait.
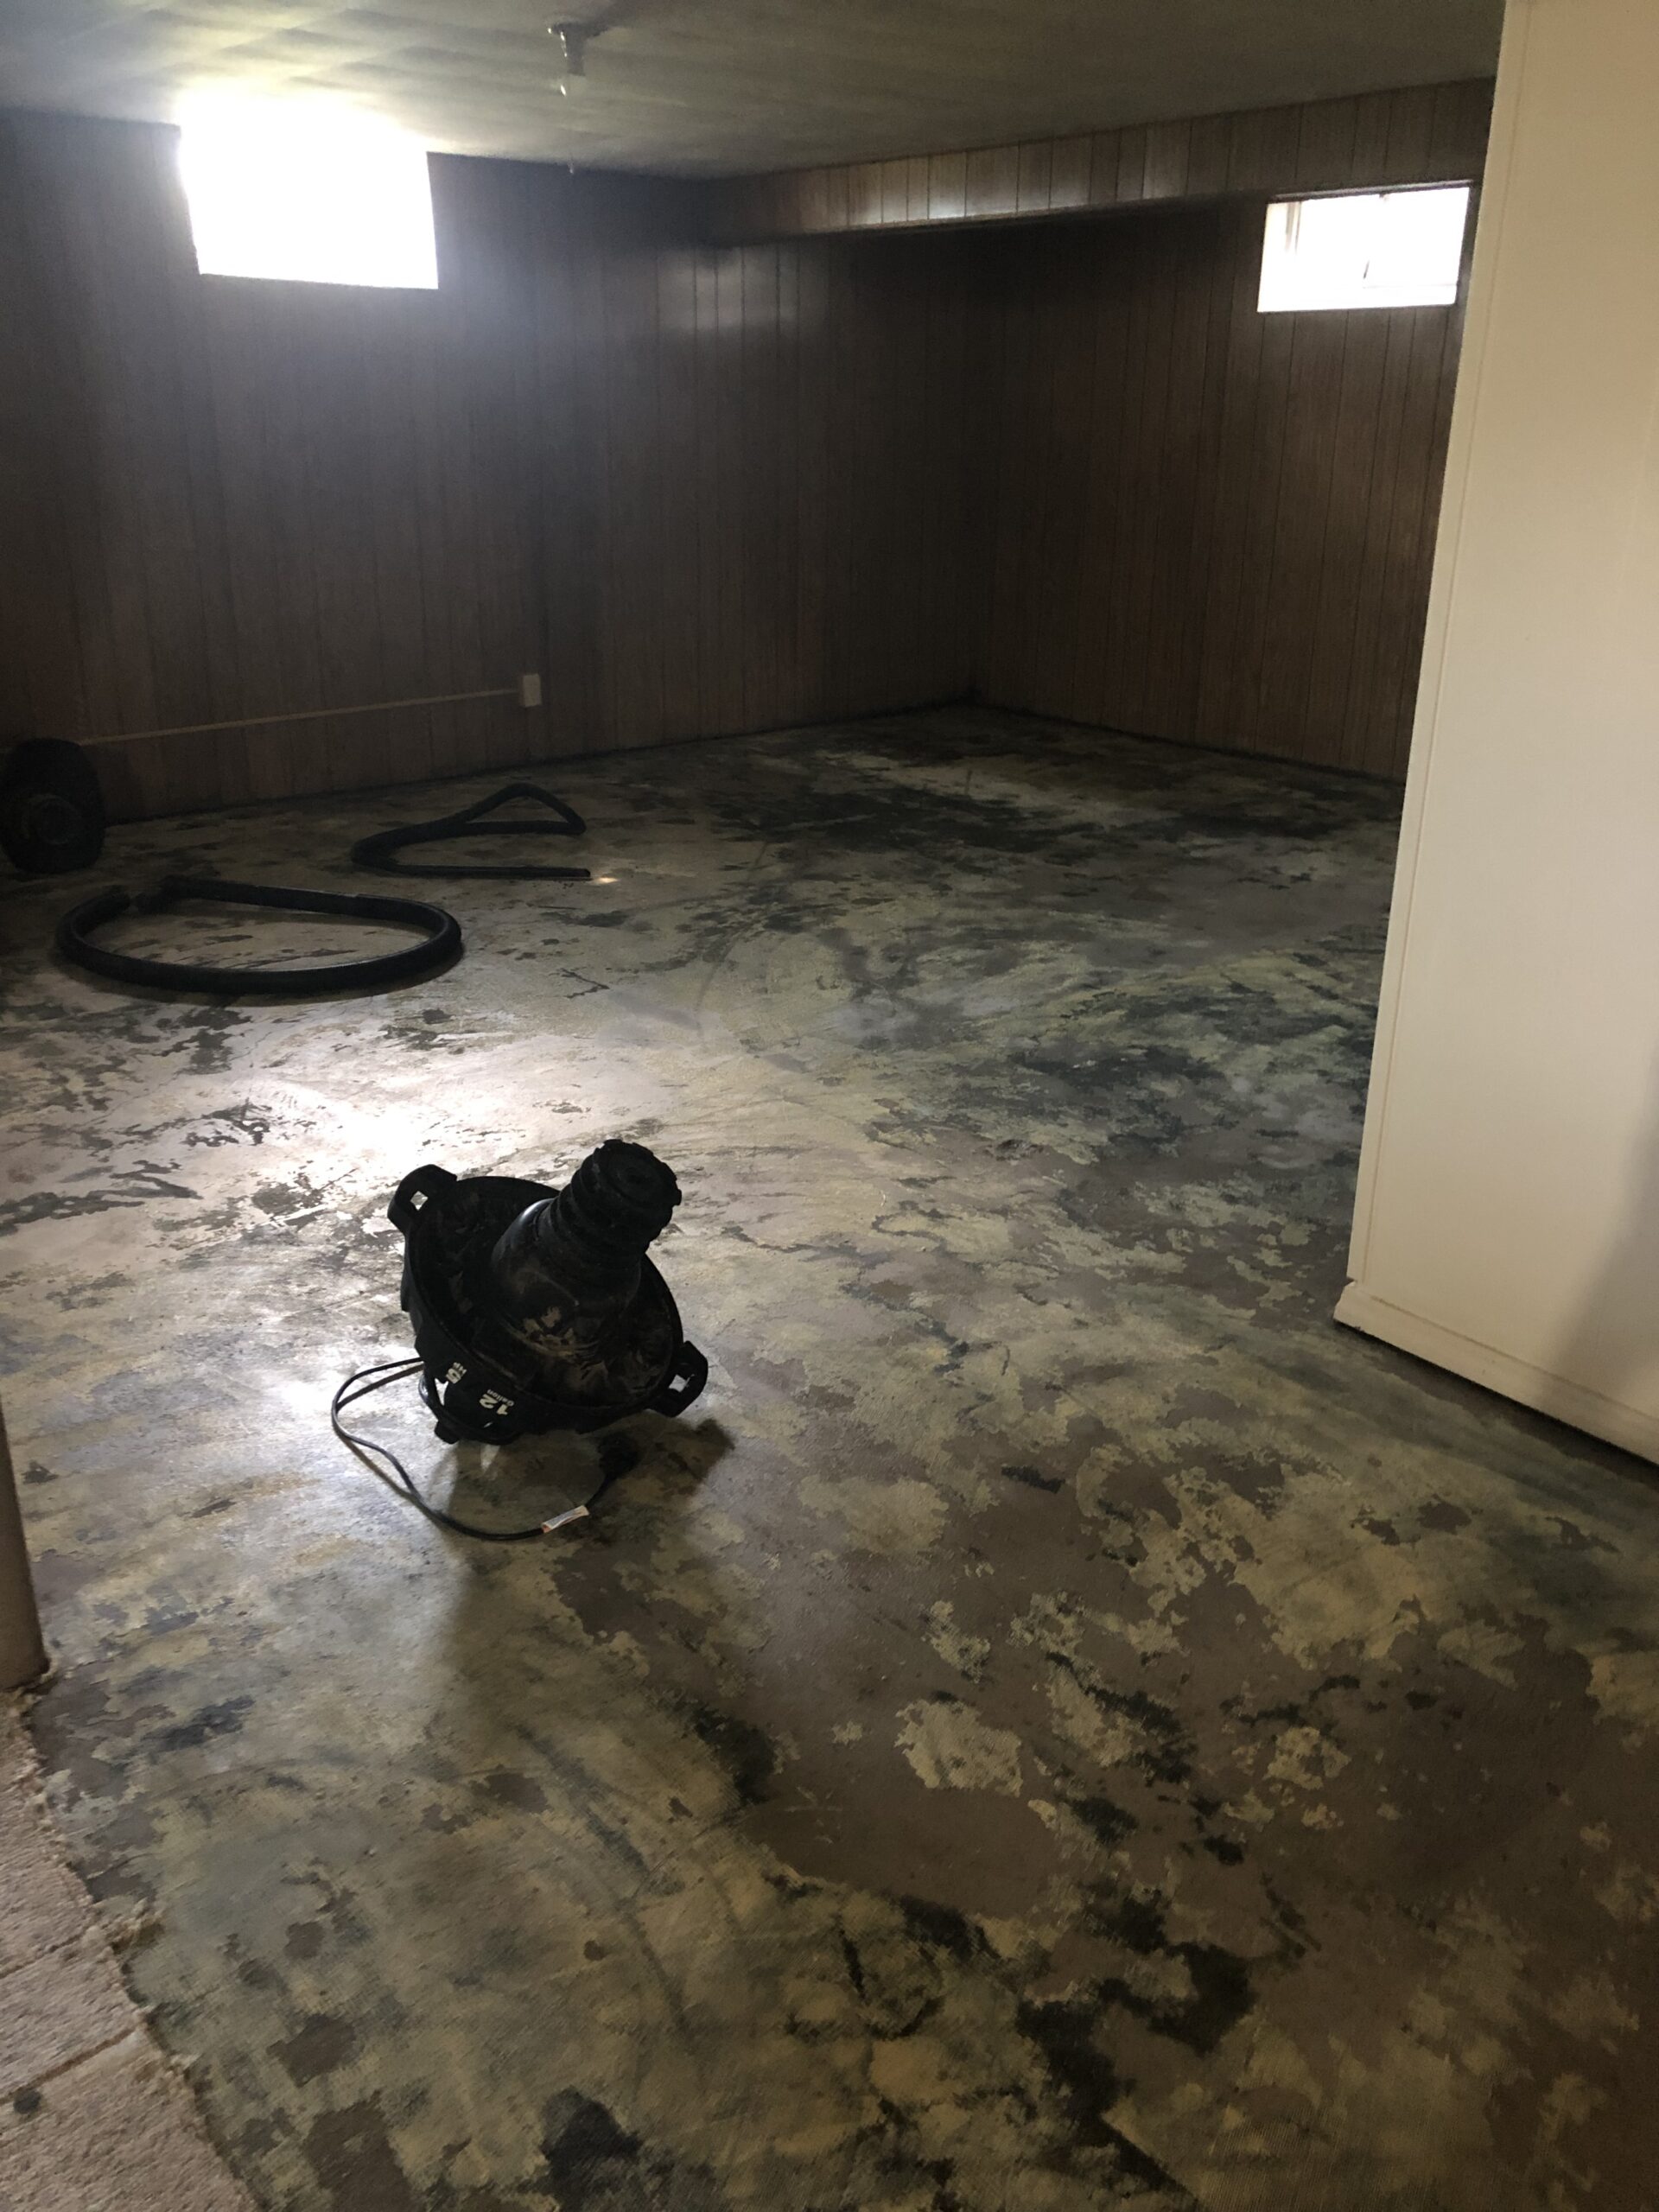
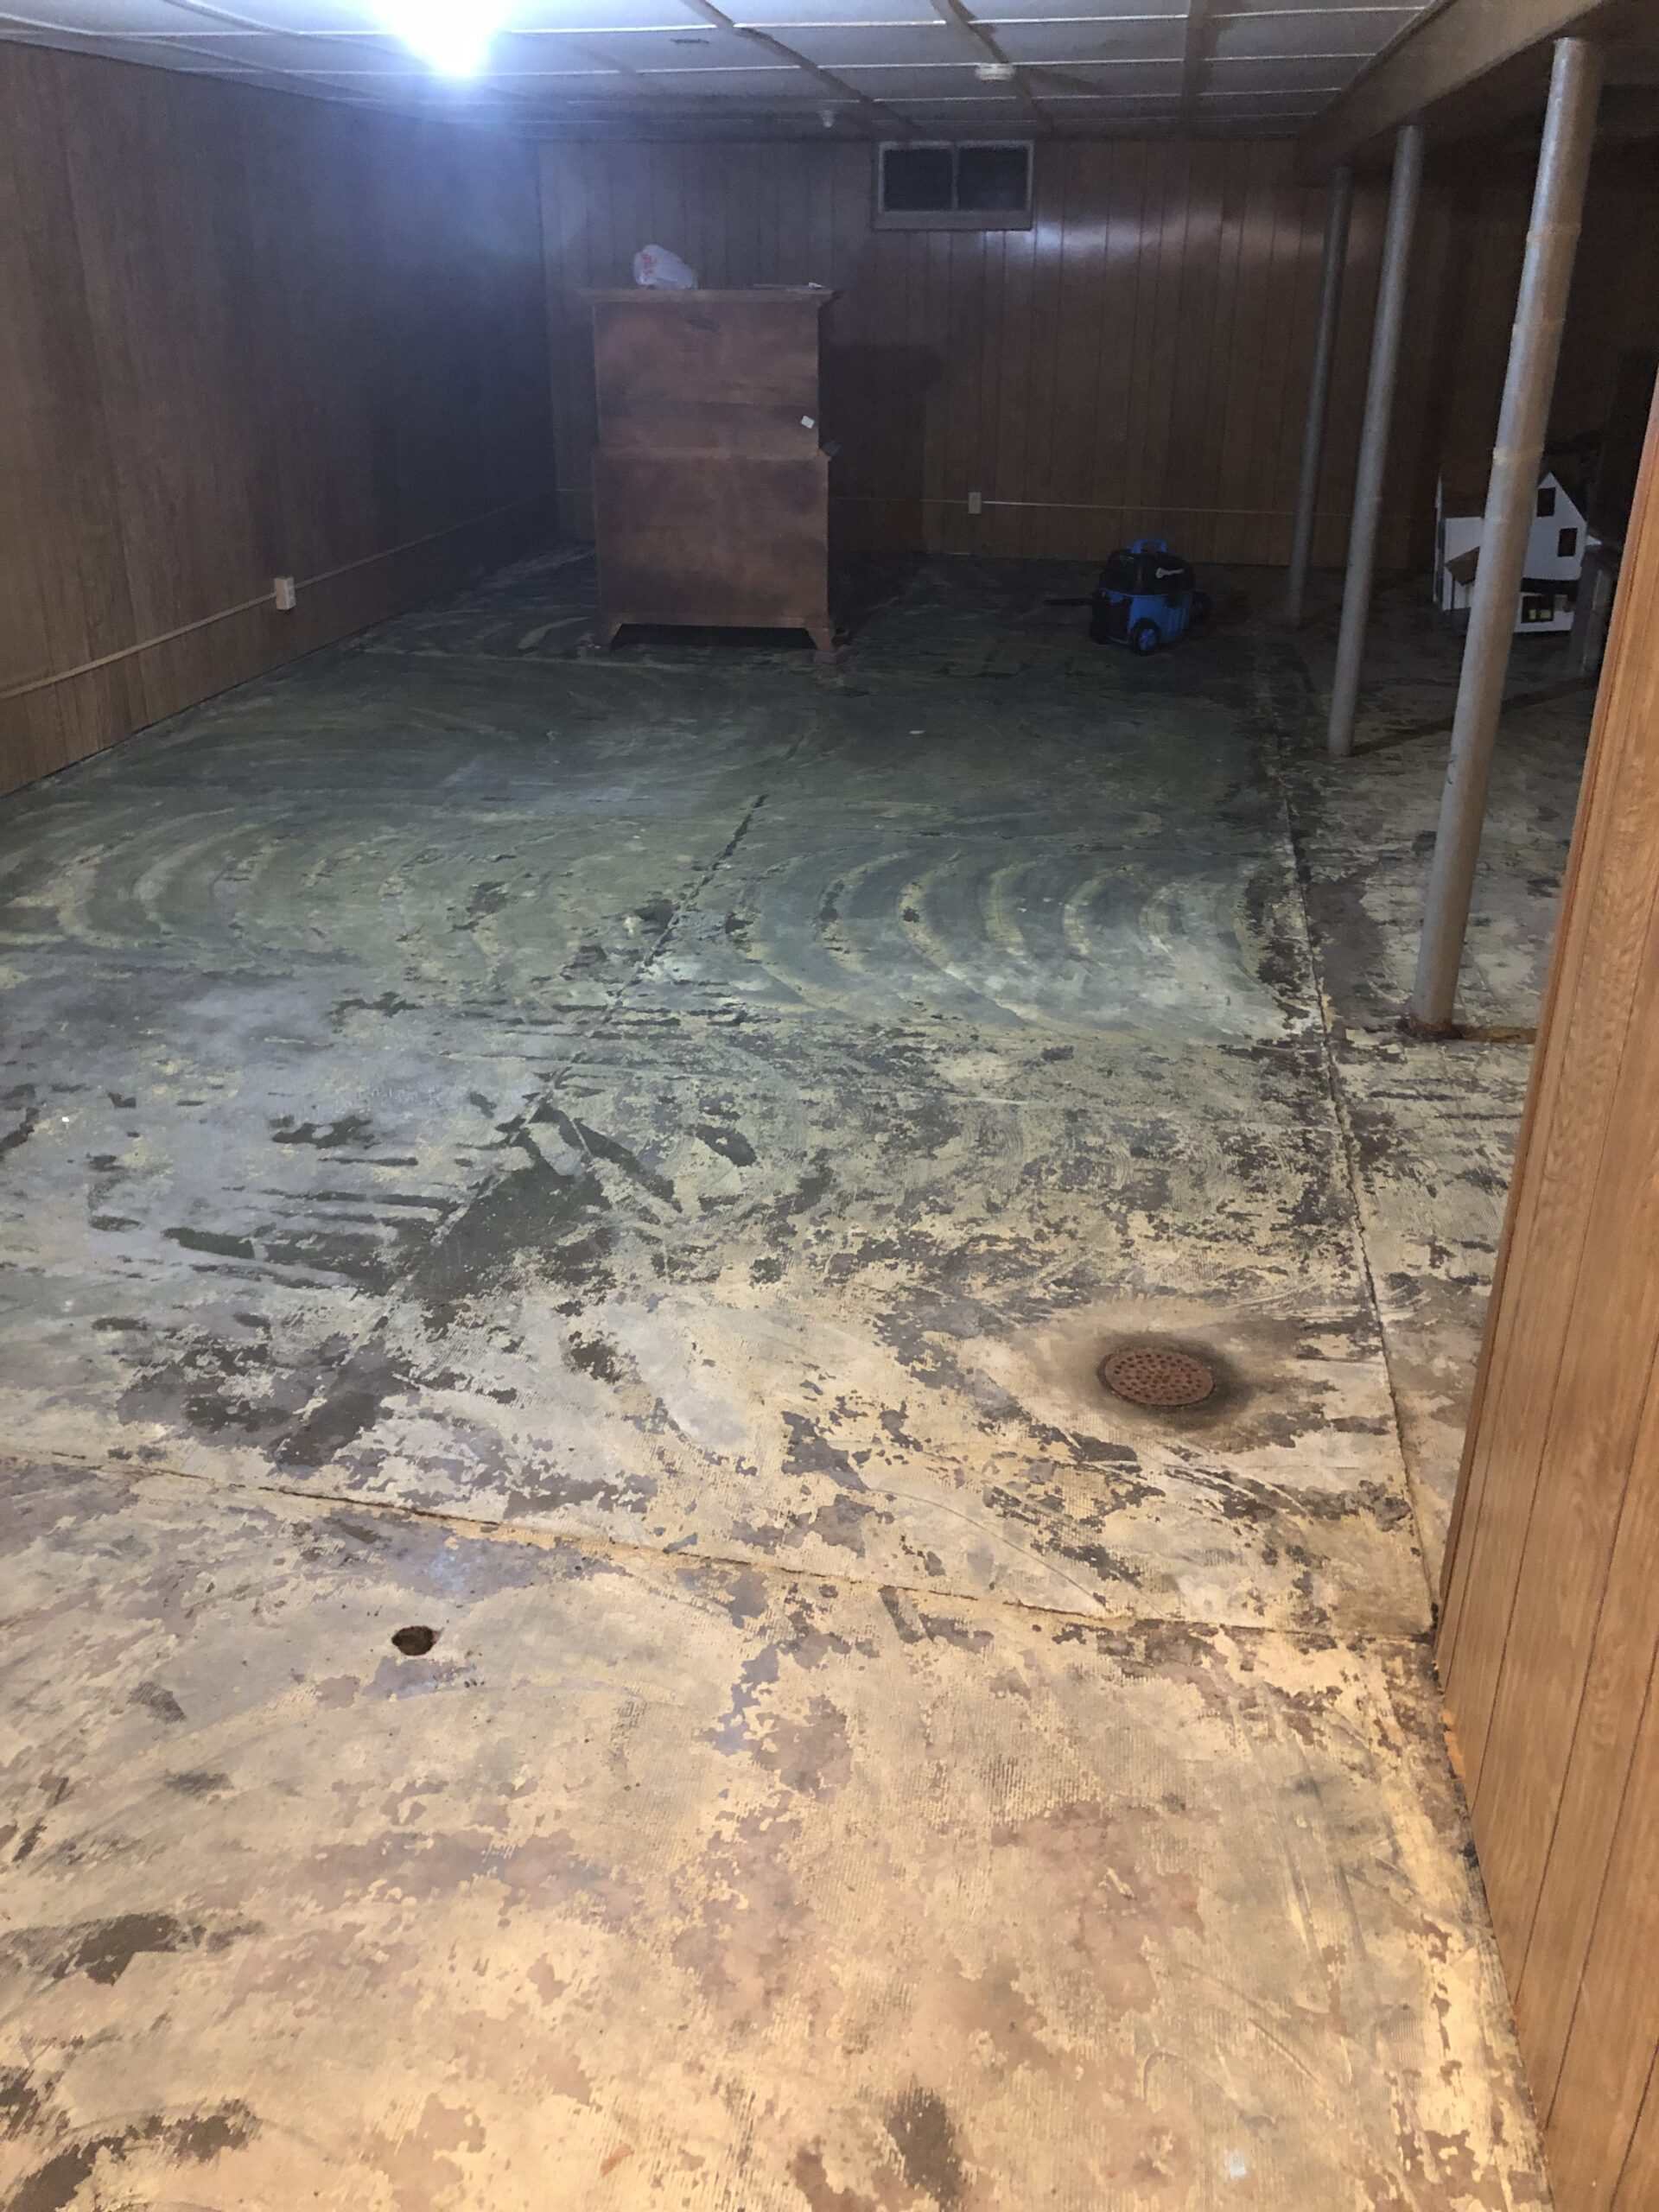
No strangers to water in the basement, we pulled out our shop vacs and got to work. The cats and kids pranced happily while we begrudgingly did our best to suck up as much water as we could. Later, my dear friend Katie came over to help us rip up the carpet. Nothing could be salvaged, but we didn’t yet have the savings to do a full remodel. So, we lived with our concrete basement for nearly a year, tackling smaller projects and getting quotes for foundation repairs.
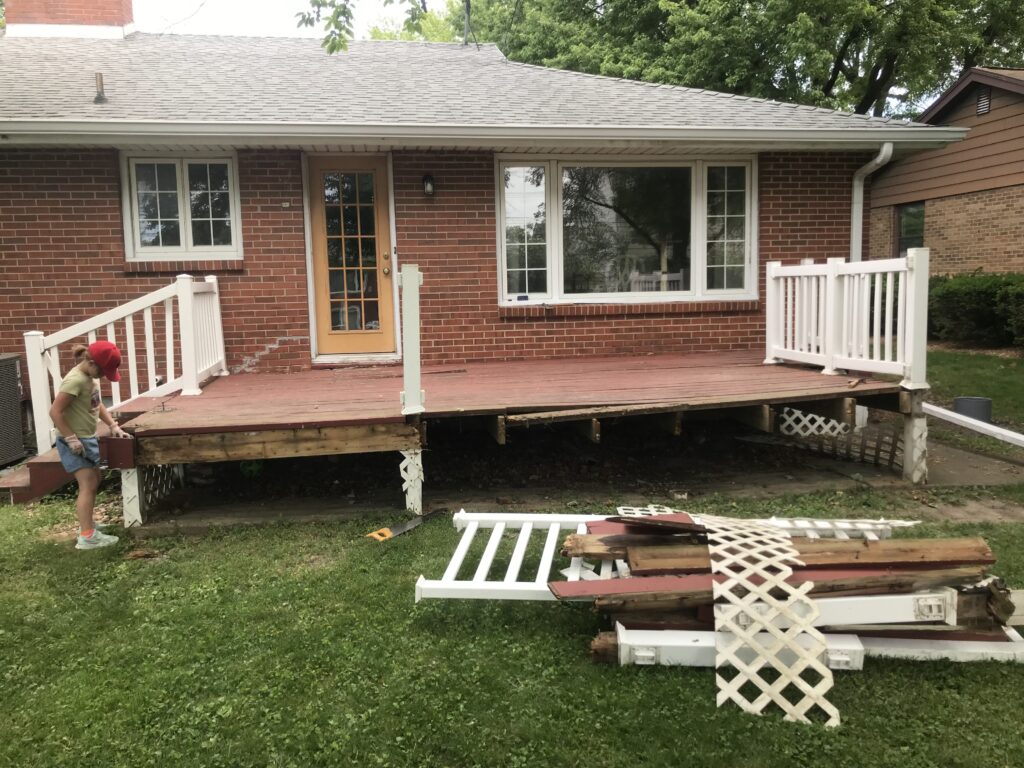
Next step, tree removal. A kind man in overalls came a few months later with his team to cut down the trees growing too closely to the west side of the house. When I inquired about paying by check, he said, “Well, we take cash, check, guns, gold, or motorcycles. Whatcha got?” To which I replied, “I’ll just go get my checkbook.” 🙂
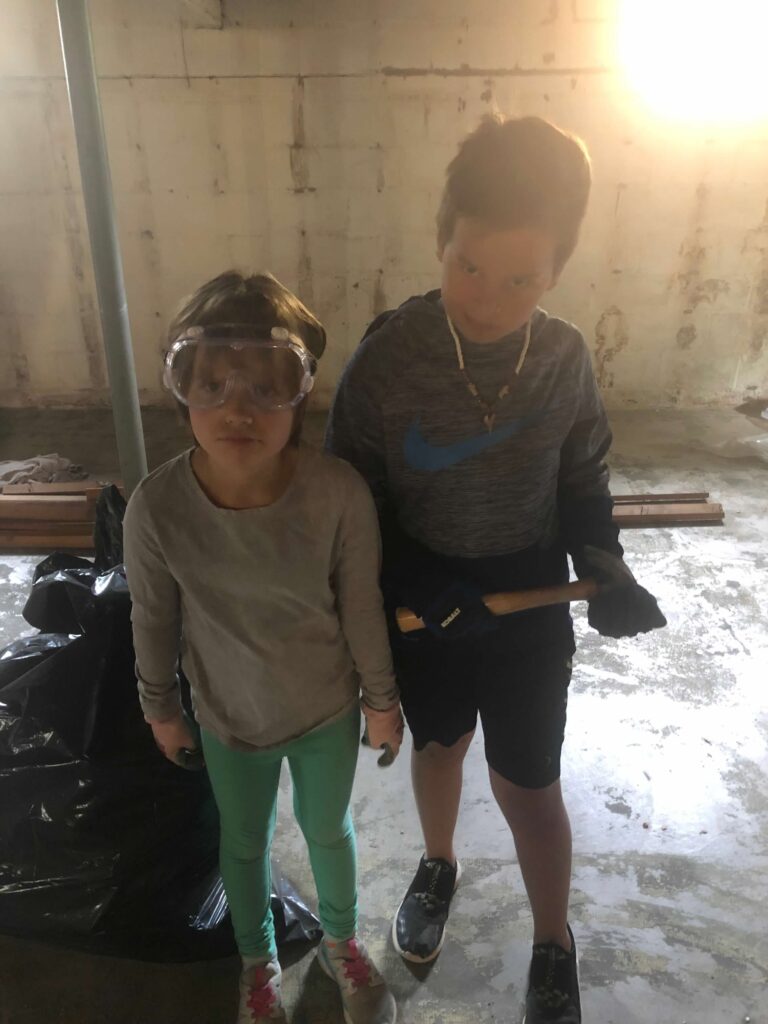
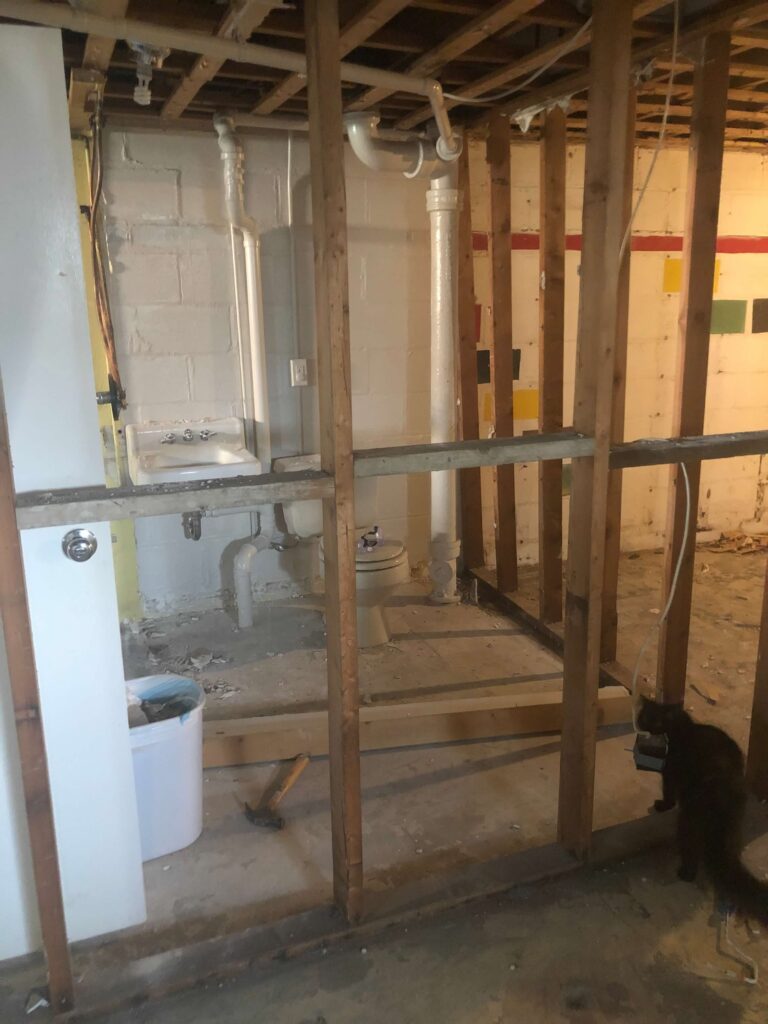
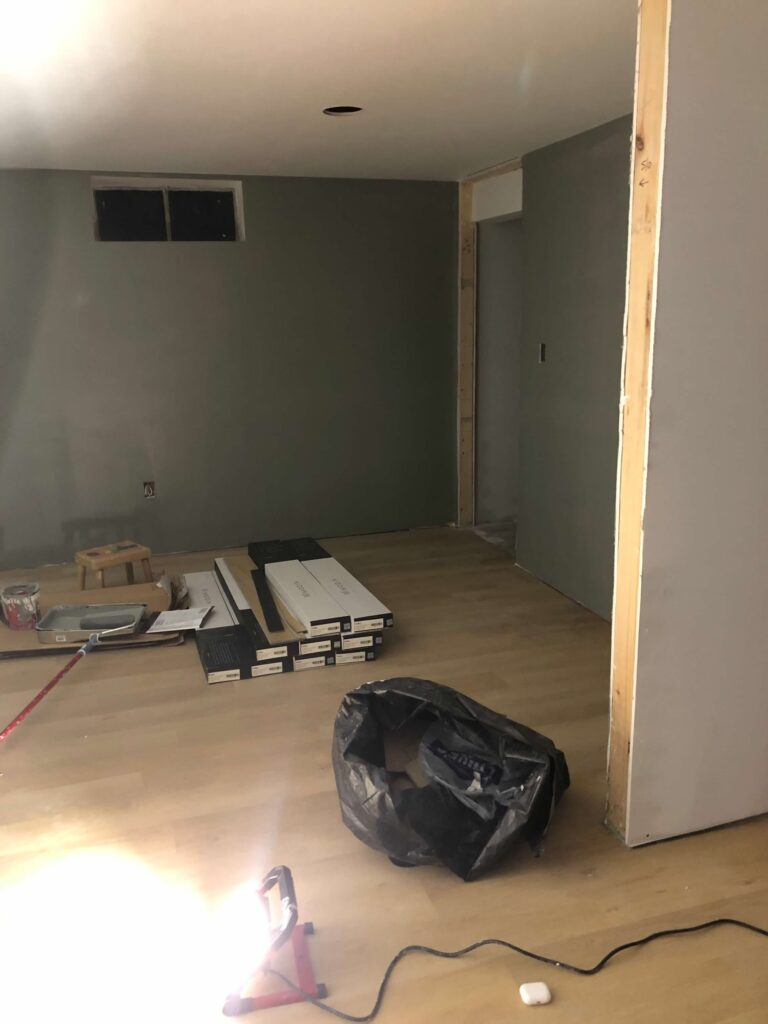
We had a little bit of demo left in the basement (mostly the bathroom and studs around it) so one day while Mike was away, the kids and I went to work. By that point, Mike had done so. much. work, so we wanted to help out. Graydon held up a YouTube video on my phone and Margaret held a flashlight while I learned how to remove the toilet and sink. We did our best to get all of the scraps carried up to the garage for Mike to dispose of later. I loved seeing MK take out all of her aggression on the framing; it was a fun bonding moment and a good lesson for the kids. I knew we couldn’t finish the basement ourselves, but I’m glad we saved the expense of demo by doing much of the work ourselves.
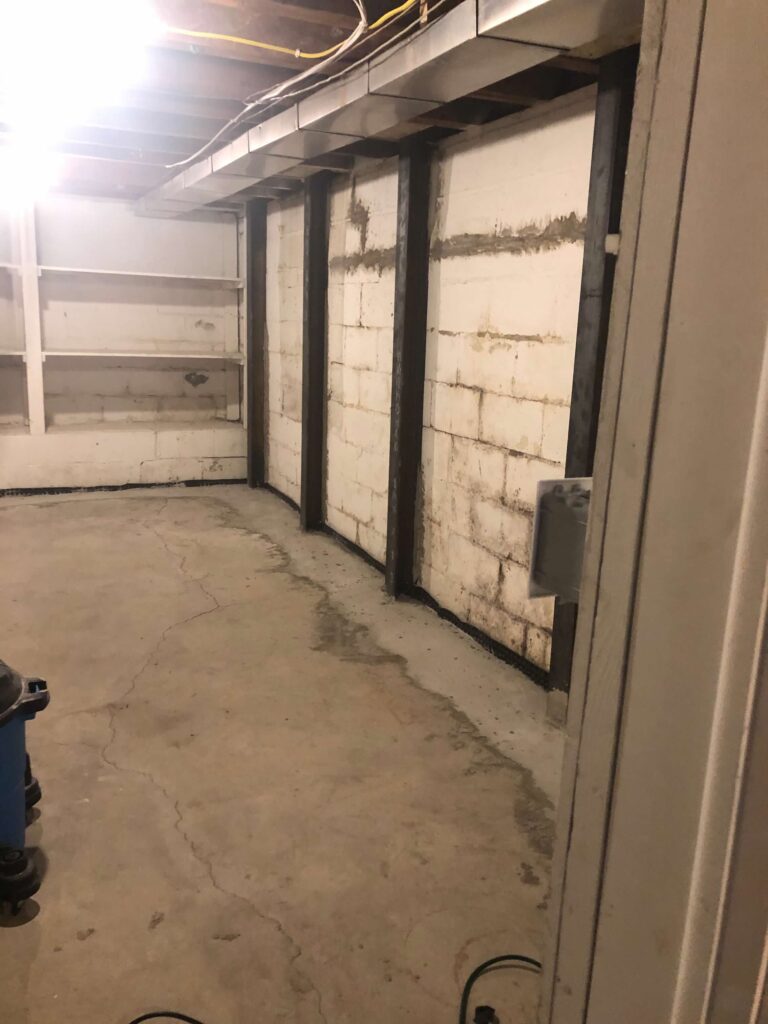
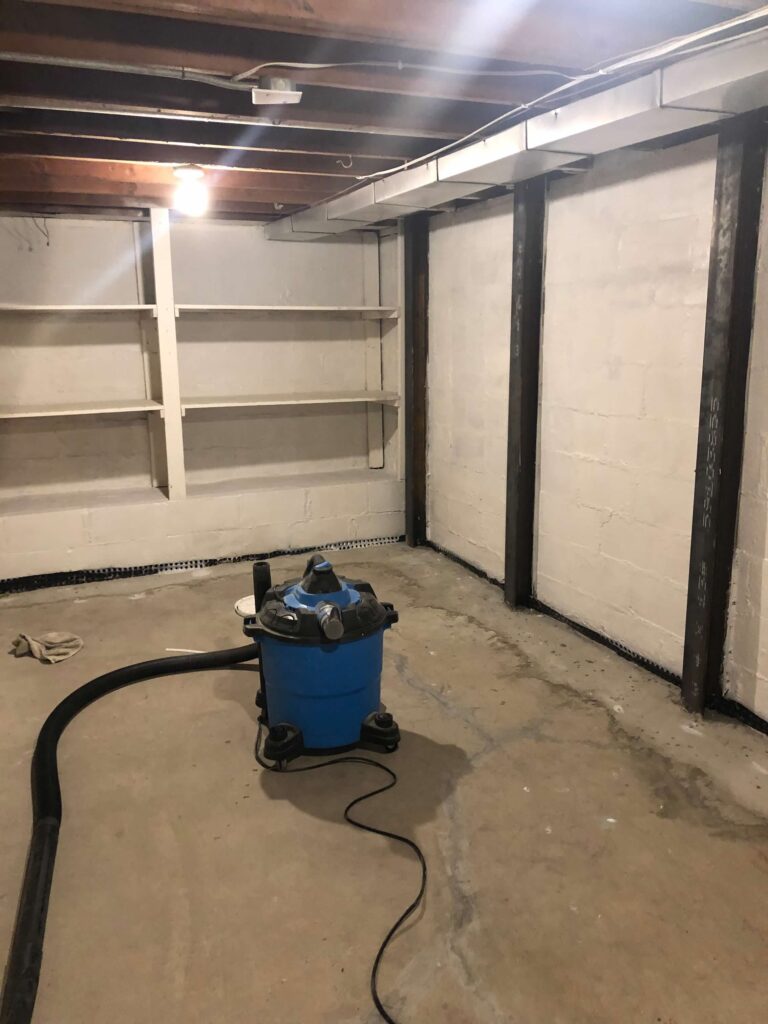
The trees removed and basement mostly demoed, we quoted out the cost of repairing foundation walls that were cracked, bowing inward, and letting water in from more than one spot. After getting numerous quotes that ranged by the tens of thousands, we signed with a company in spring 2022 and the work began shortly thereafter. They installed two sump pumps and a drainage system, sealed every crack, and added steel beams around the entire basement.
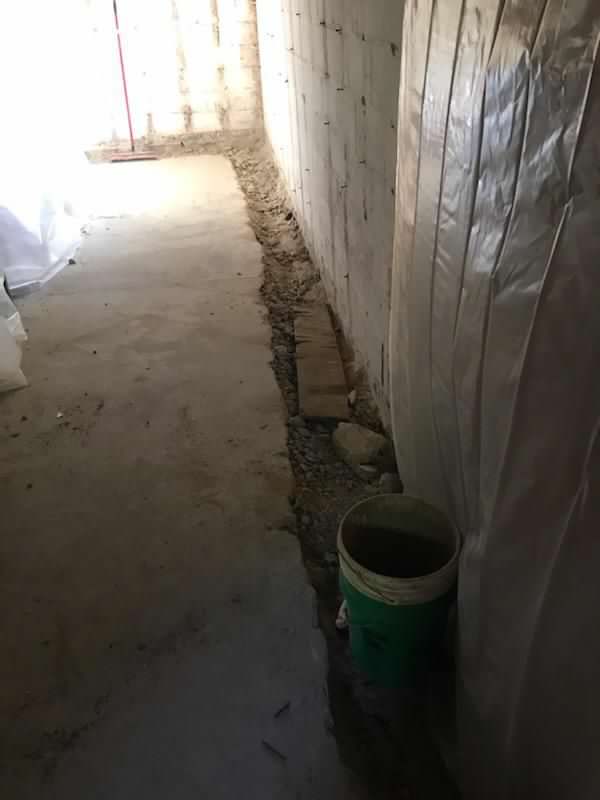
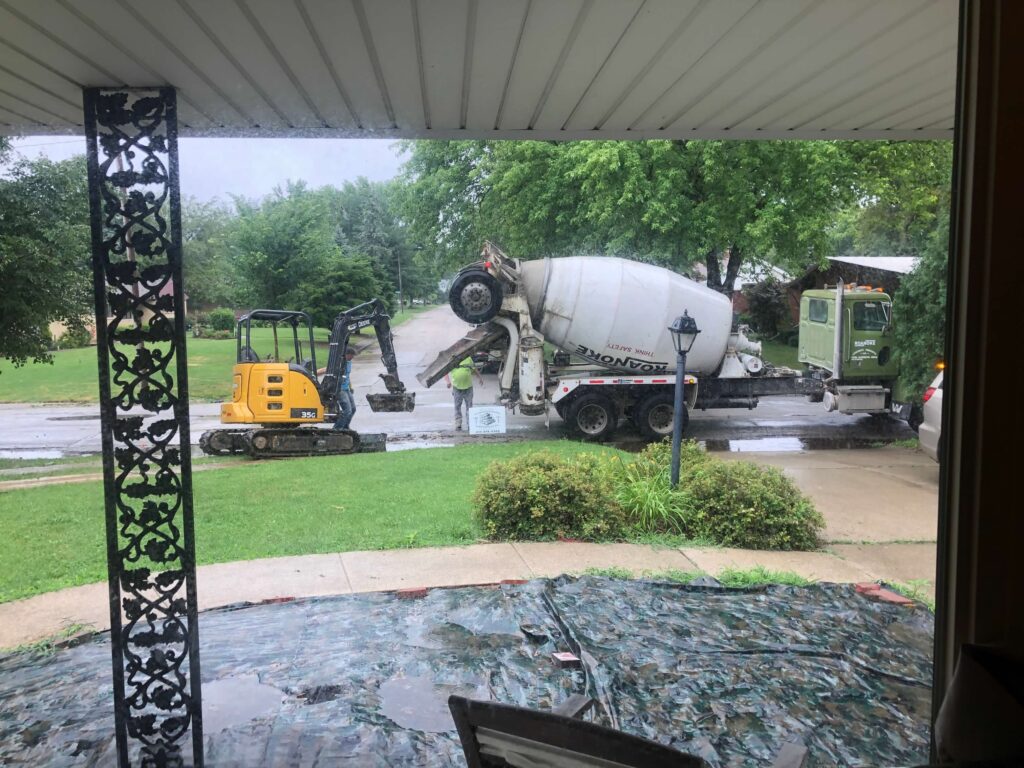
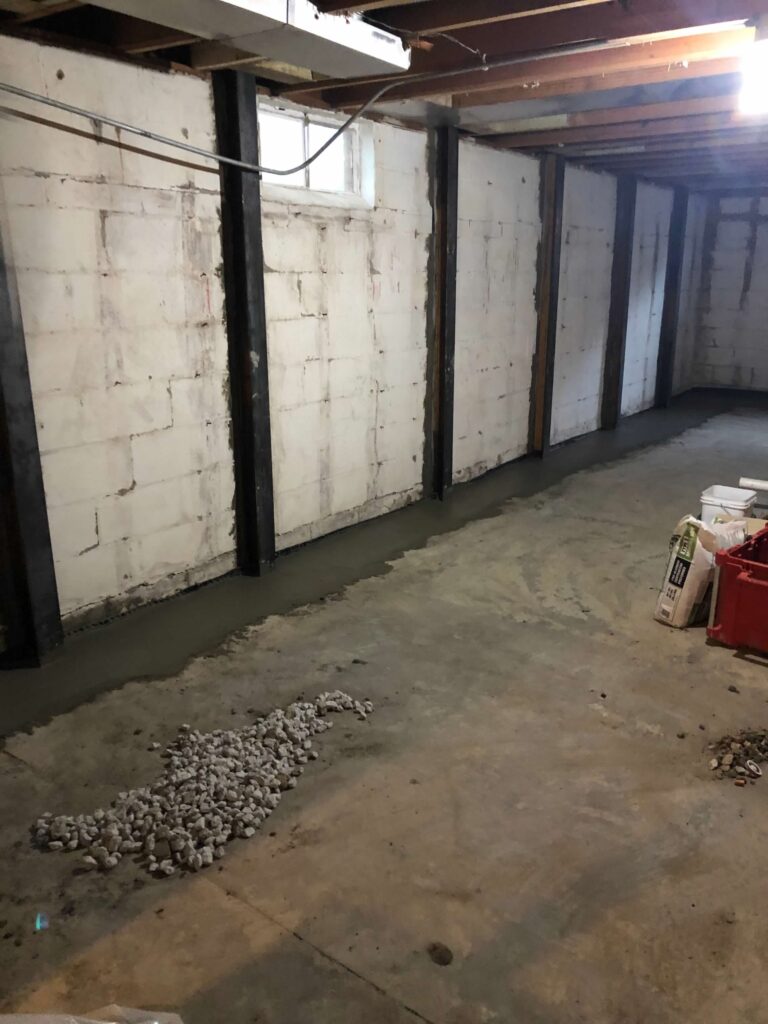
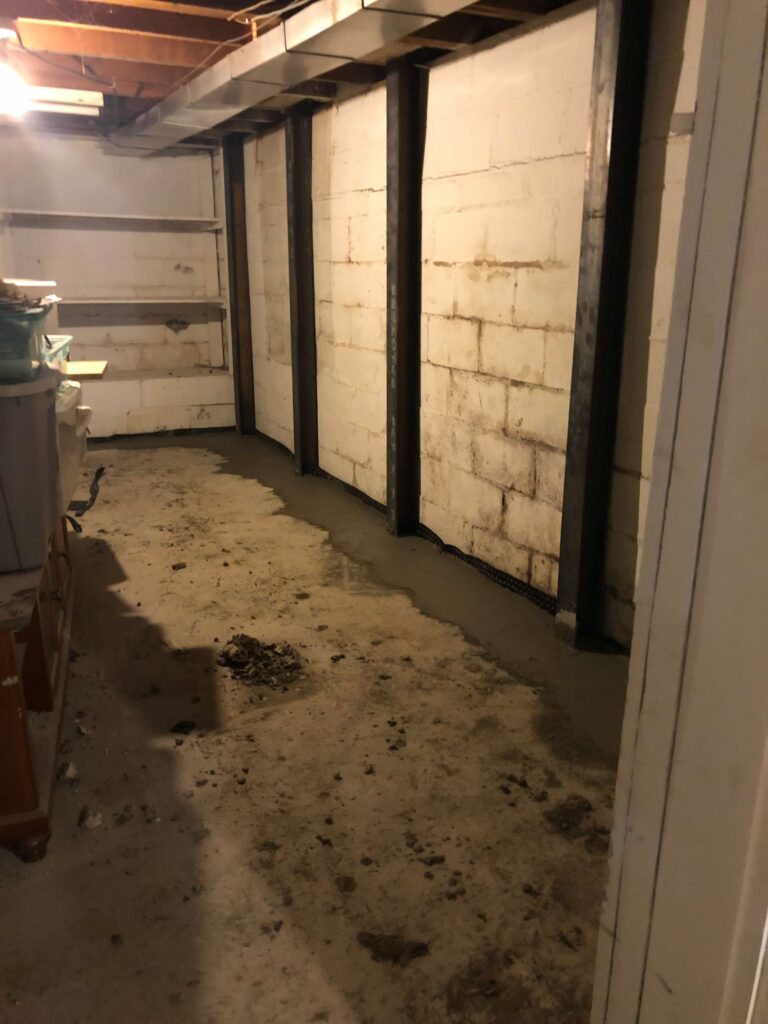
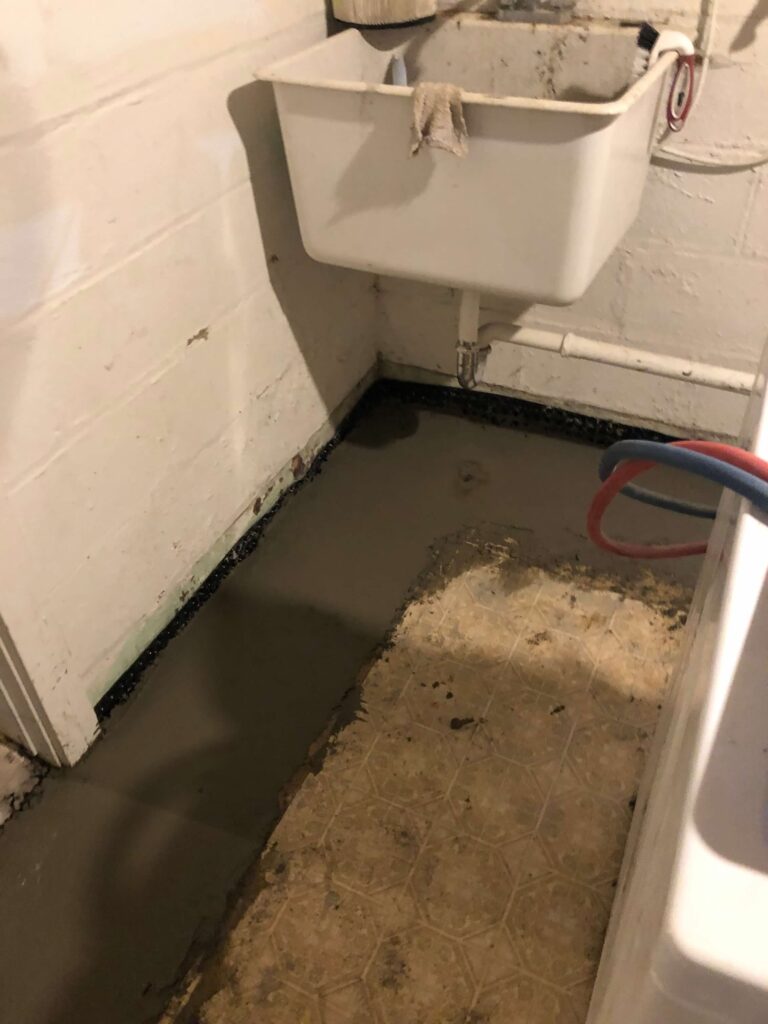
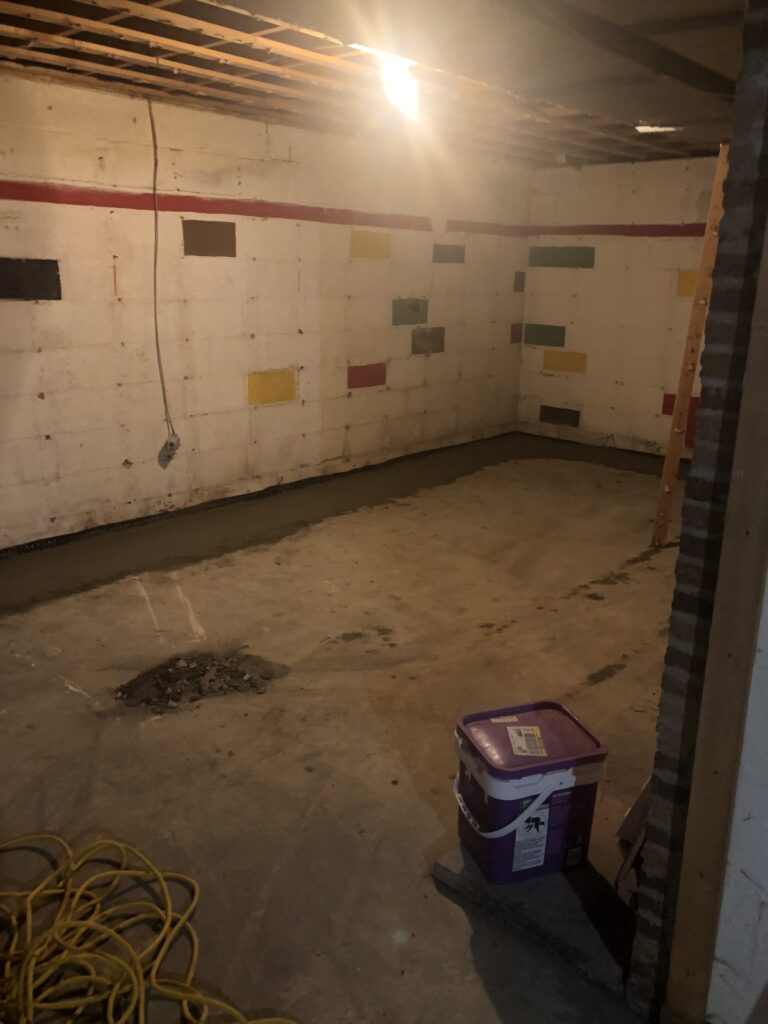
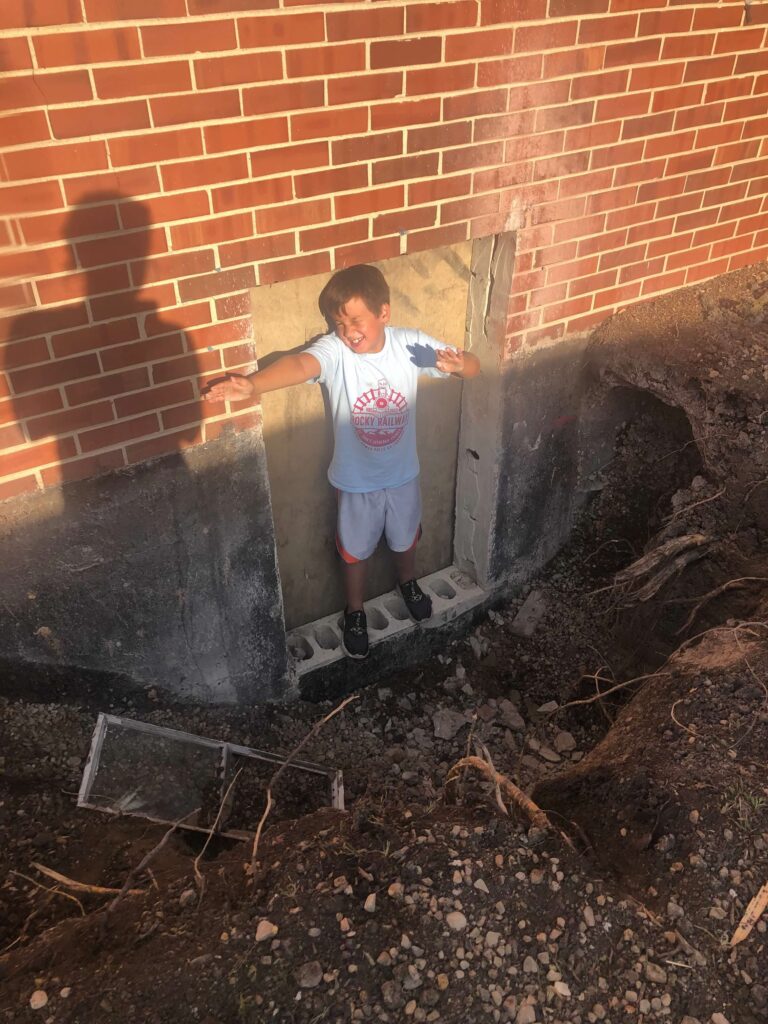
The drilling sounds and concrete dust had us all on edge, but within a few weeks they had hauled extra concrete out of the egress window, poured new concrete to cover the drainage pipes, and were done installing the steel beams. Before we officially finished the basement later that summer, we lived through many storms, each time checking our new waterproofing system. “No water!” we’d yell up the stairs, marveling at the whirr of our sump pumps.
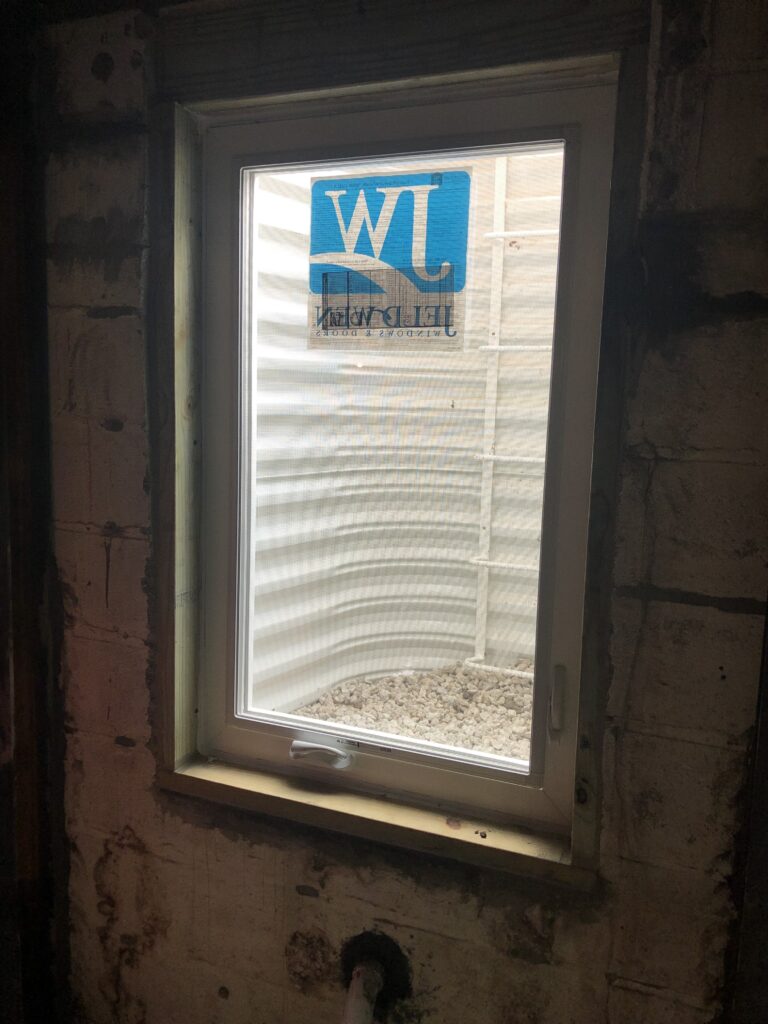
With the trees removed and the foundation work finished, we were able to put in an egress window for the future basement bedroom.
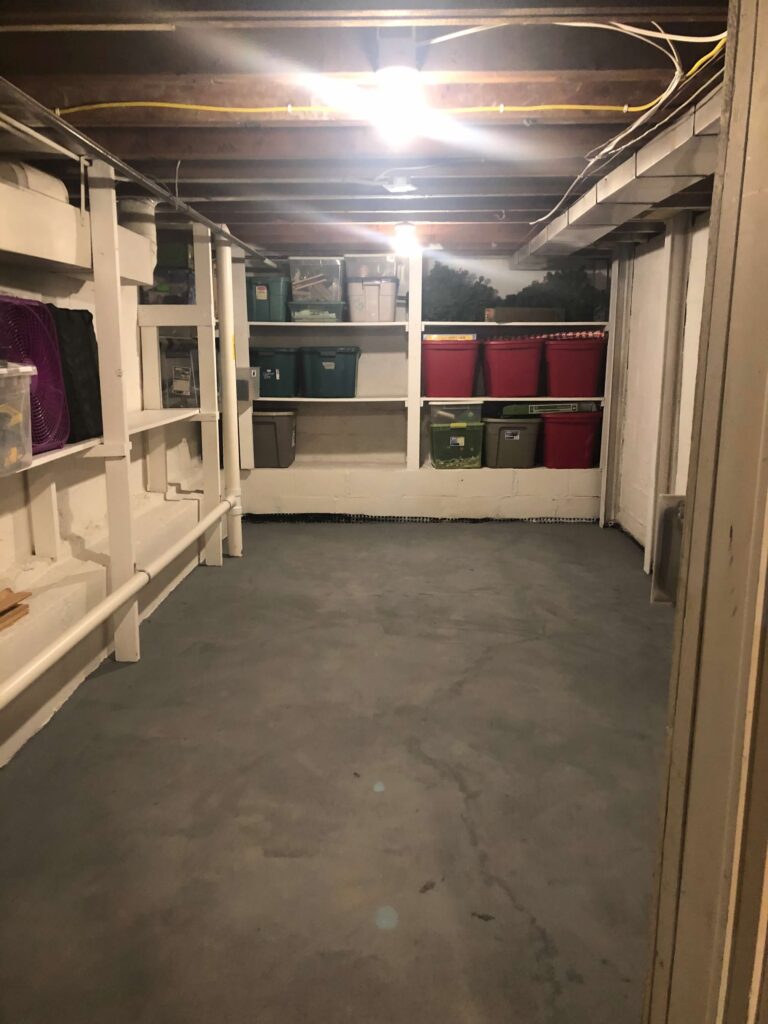
We also took time to seal and paint the storage room walls and floor. Margie and I tackled this project together one night.

When all of the behind-the-scenes prep work was finished, we started working with our neighbor and contactor Braeden to finish the space. He patiently talked us through each step of the process and was upfront about the timeline. They would need just four weeks from start to finish. Together, we walked the basement to decide where the two rooms, walk-in closet, and storage spaces would go. Having had years to consider the remodel, we were fairly confident about the direction of the project, but Braeden’s mockups made us even more excited for a clean and usable space.
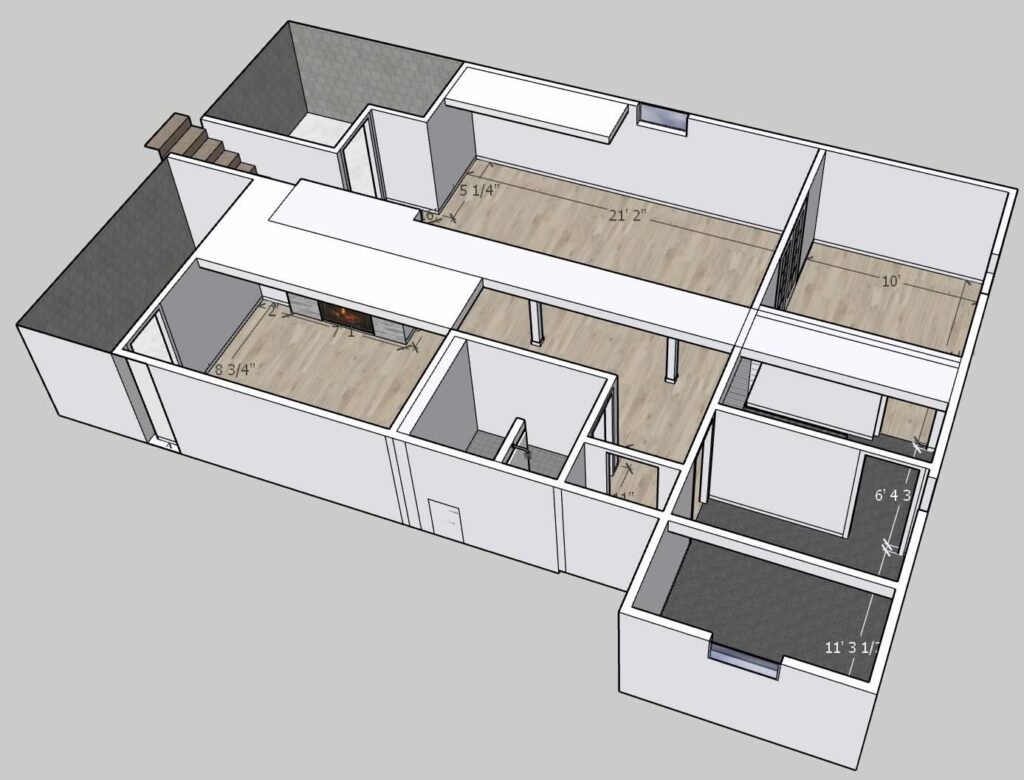
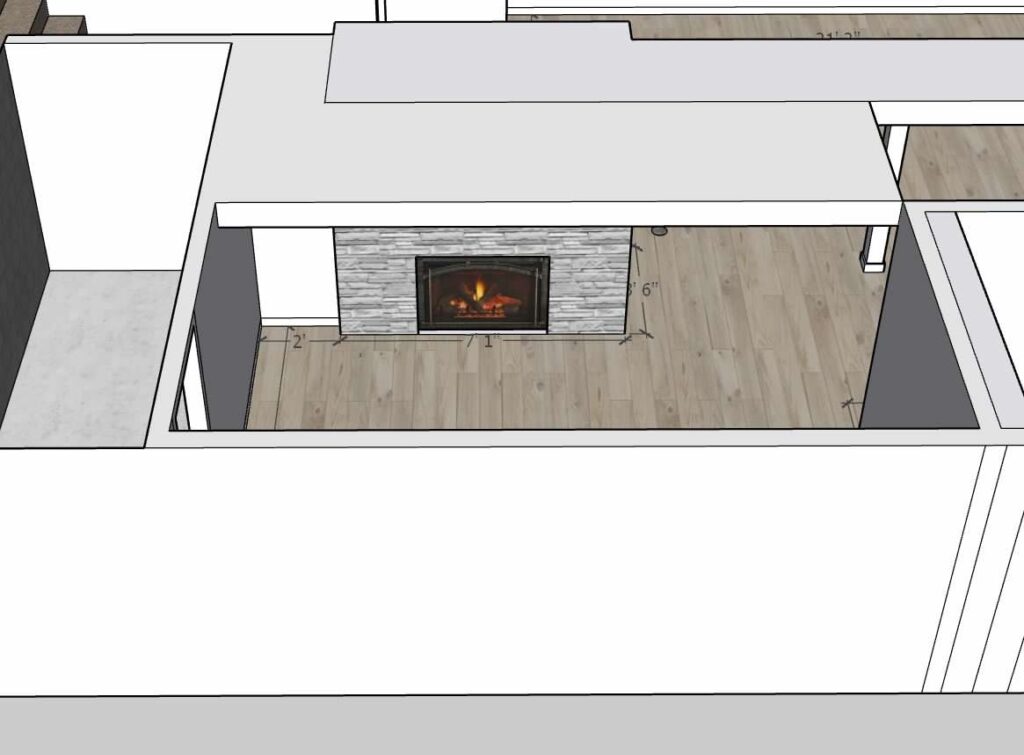
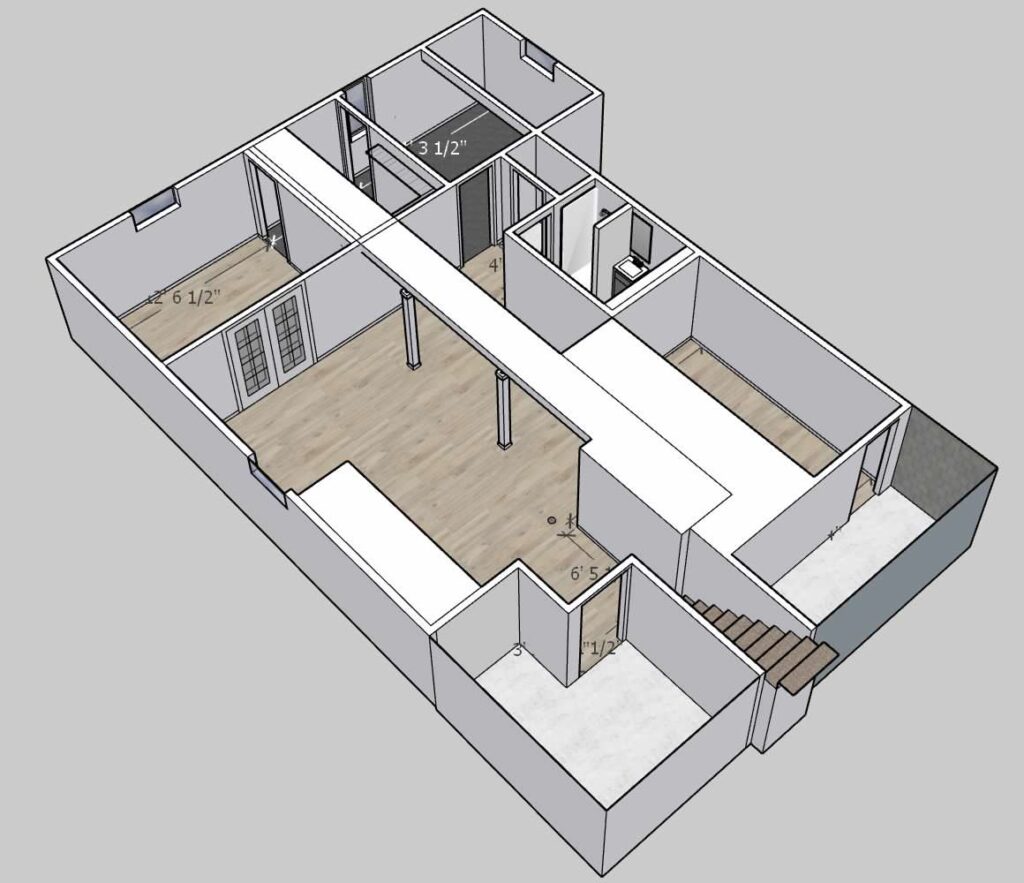
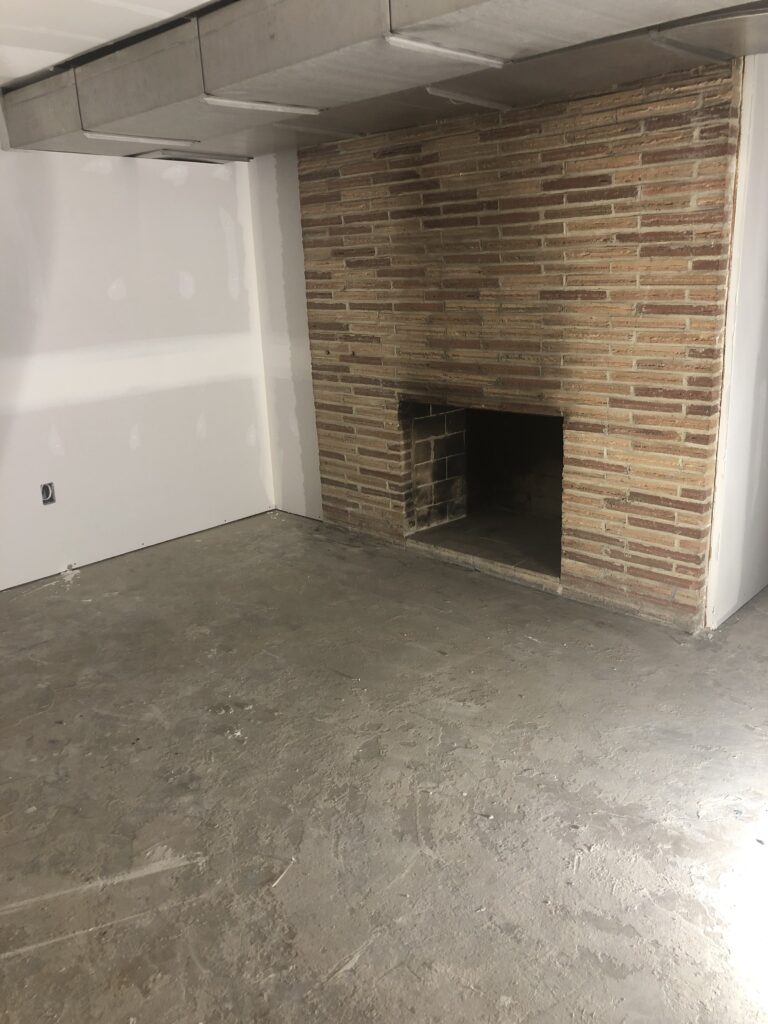
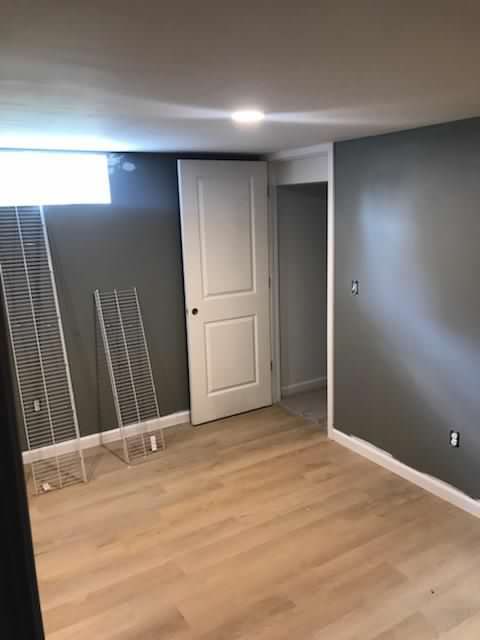
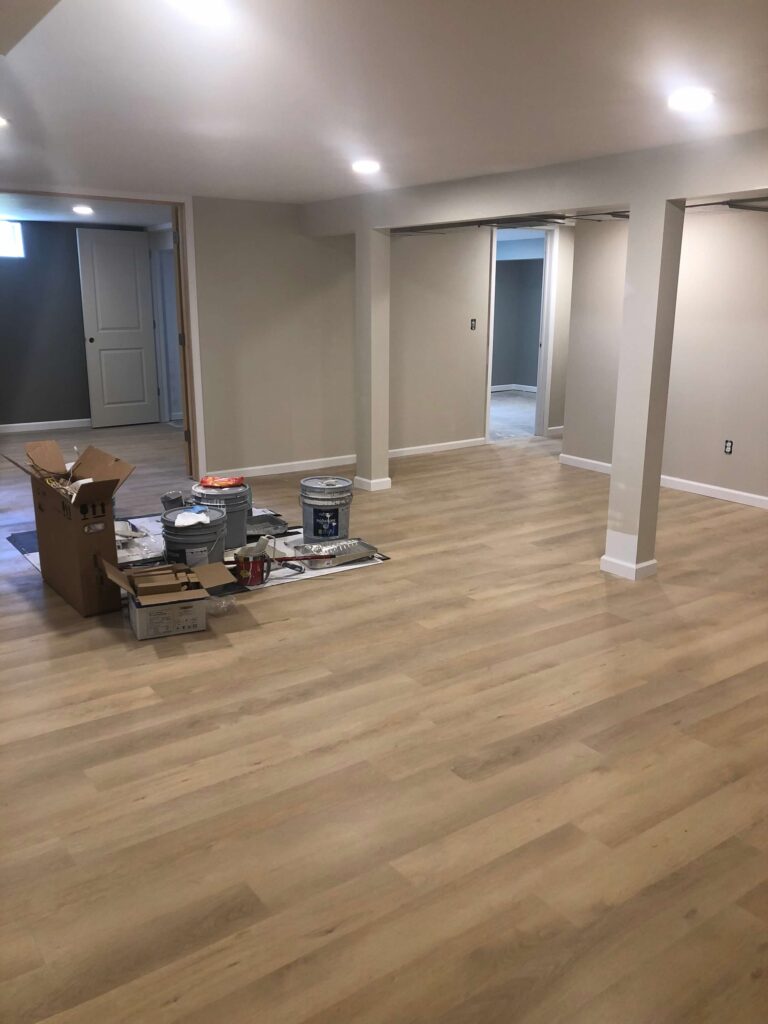
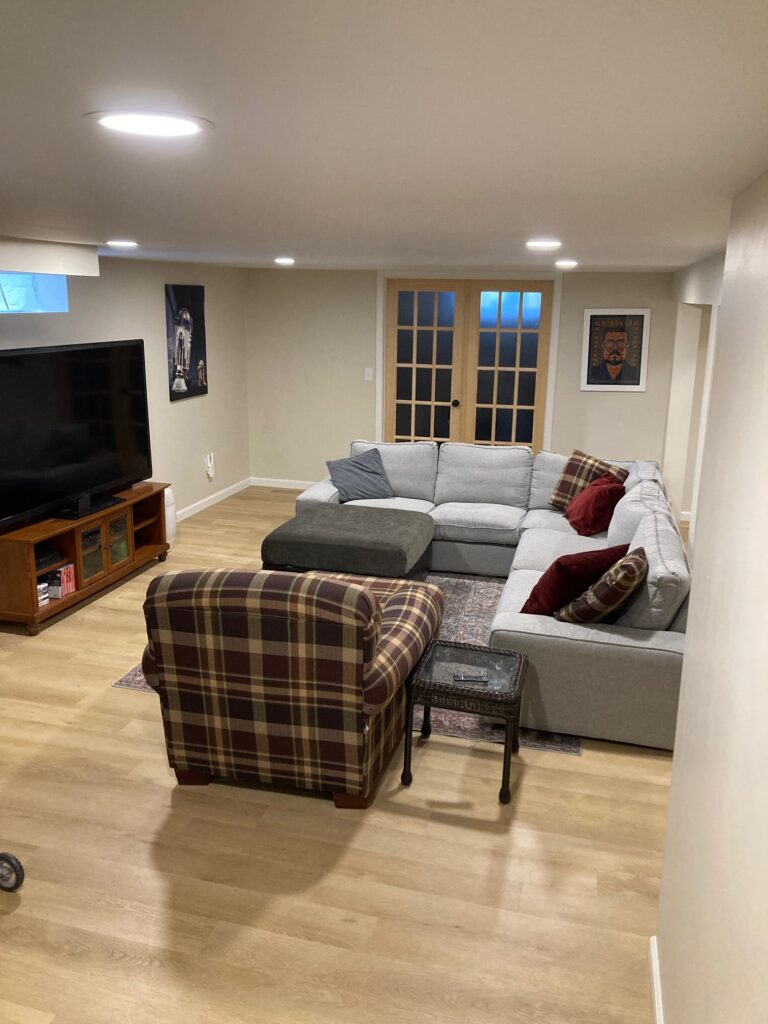
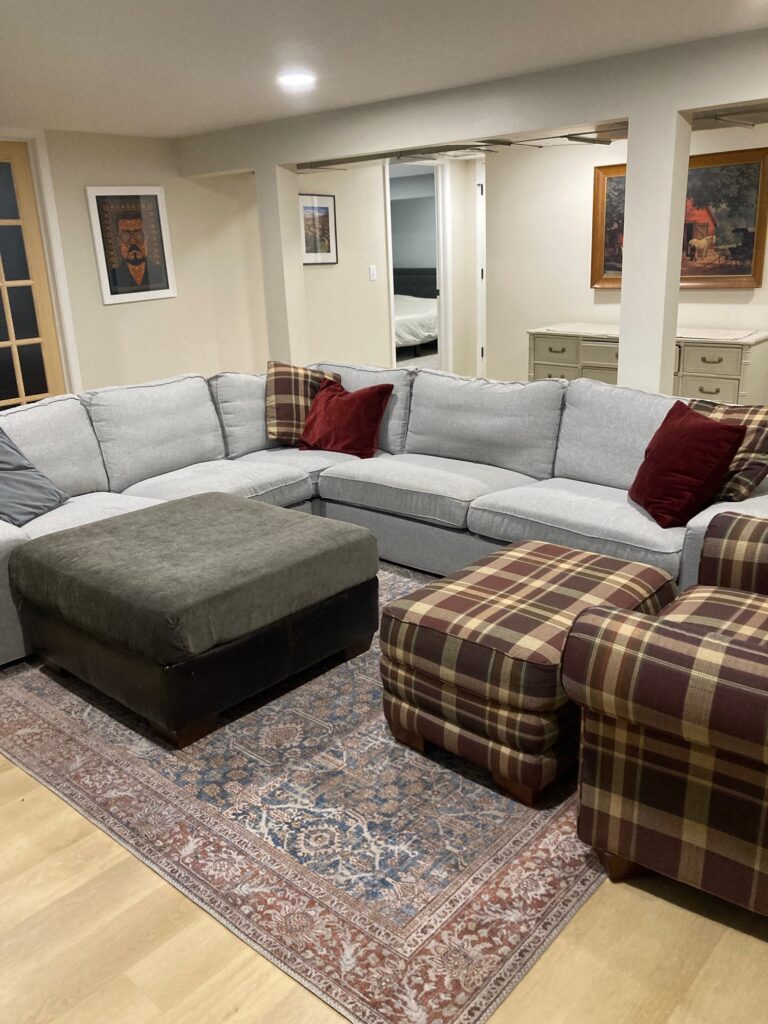
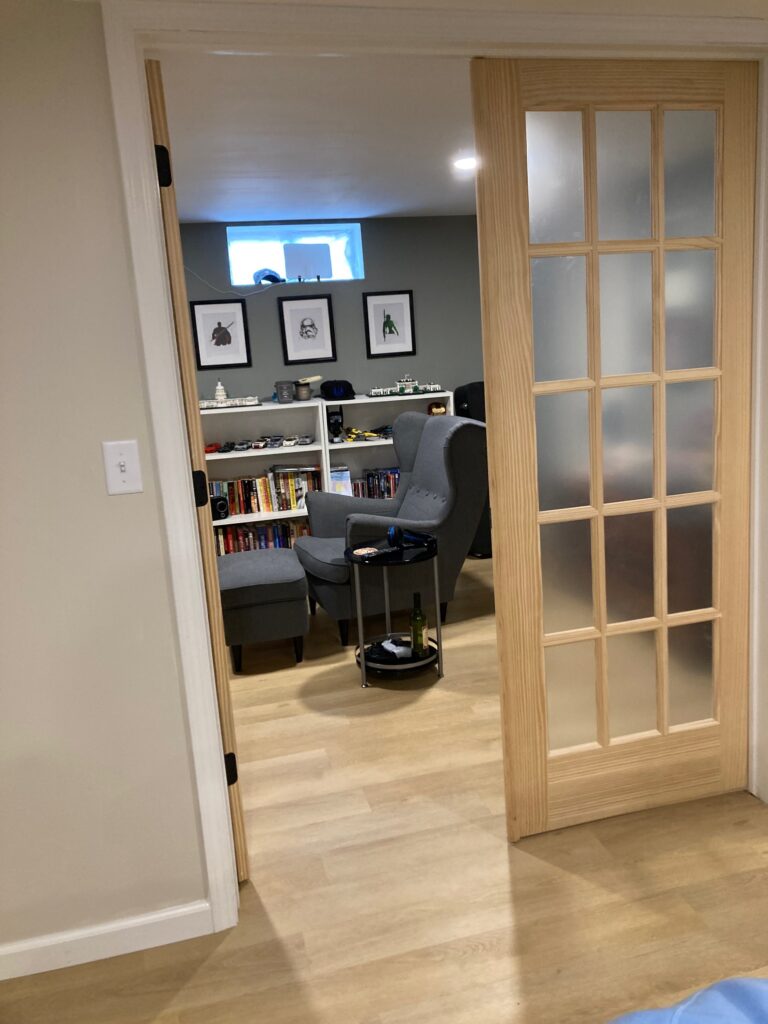
We made two separate rooms beyond the large living area. The room to the left became Mike’s man cave, with an option to turn it into another bedroom by adding an egress down the line. Both rooms share a large walk-in closet with a shelving unit—it’s where Gray’s drum set and Mike’s extensive Nike shoe collection currently reside. We chose not to convert the fireplace to gas at the time but know we can fairly easily add it in later. We installed electricity at the top of the fireplace though, in case we ever want to mount a tv there. We also opted to leave the ductwork exposed while drywalling the rest of the ceiling. At 6’4″, Mike needed every extra inch to avoid hitting his head.
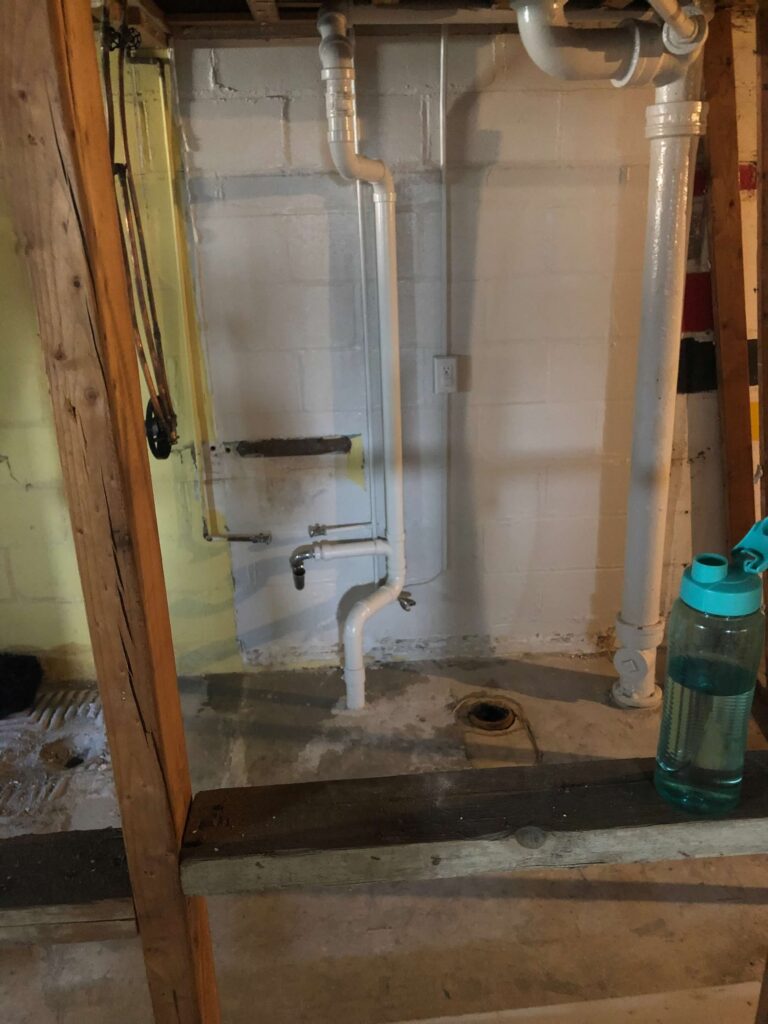
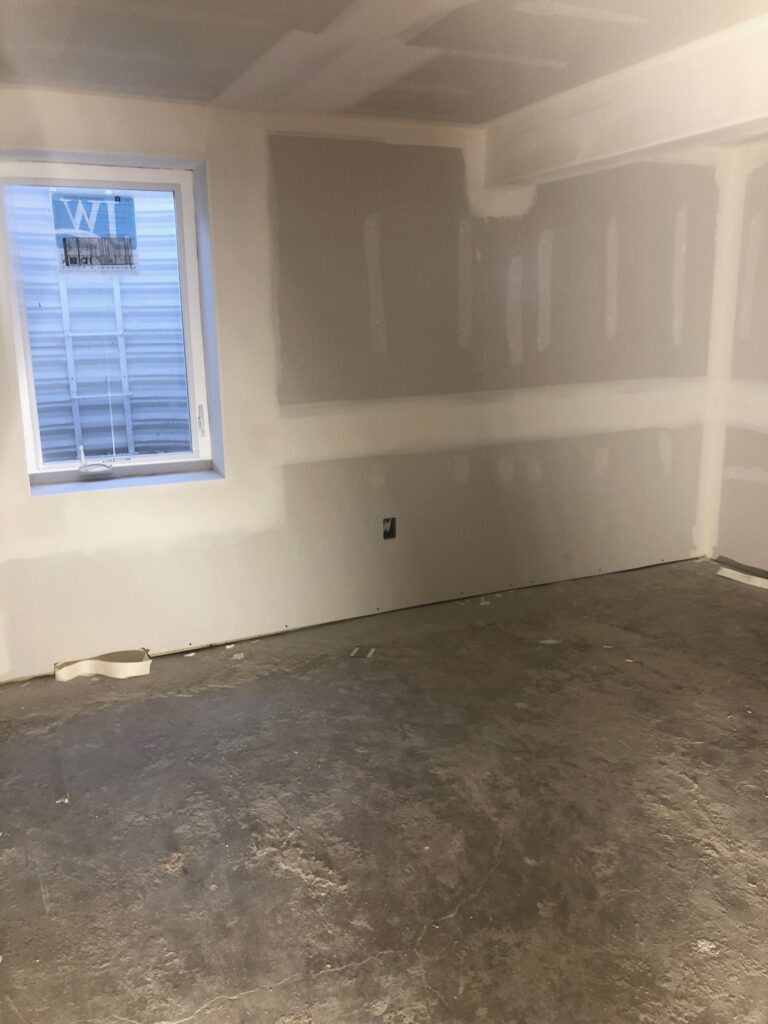
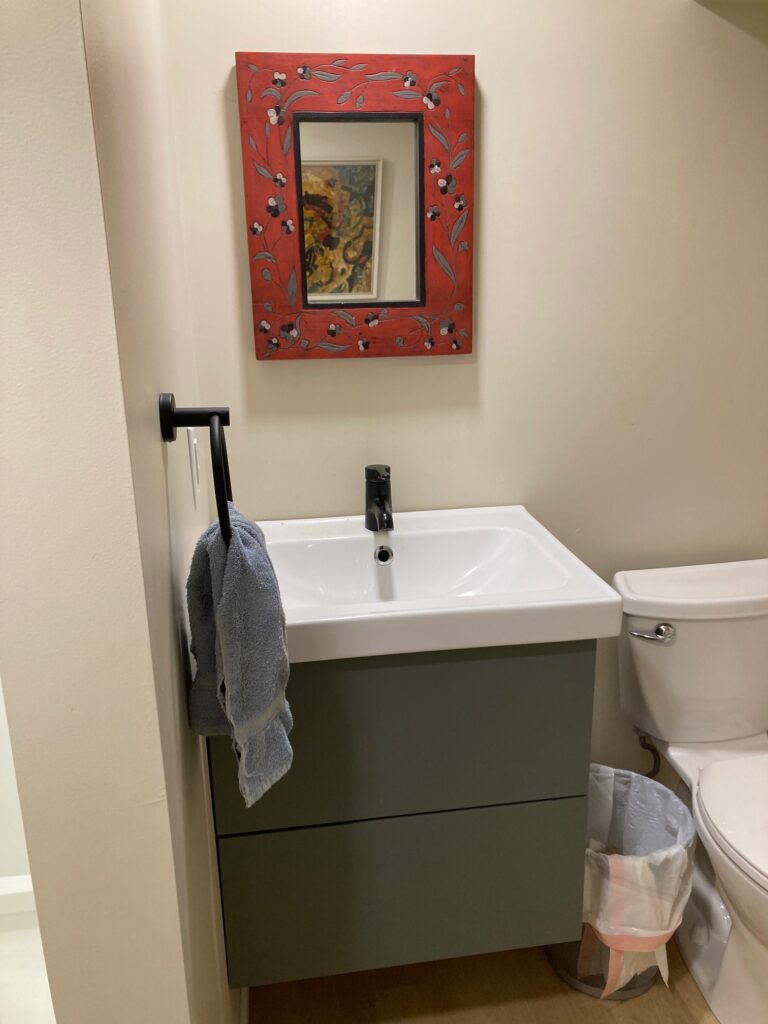
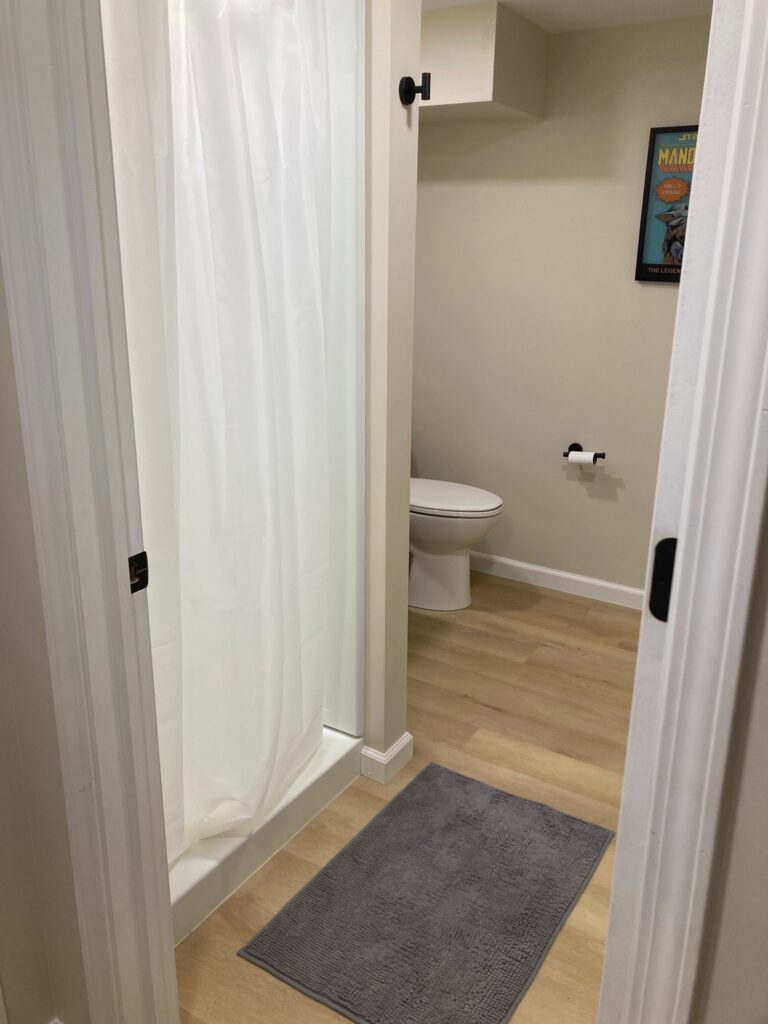
To help keep costs down, we selected our own flooring and finishes. We splurged in some areas, like replacing all of the pipes to the basement bathroom to help with water flow and installing lots of can lights so the space wouldn’t feel like a basement. But we also saved by doing some of the labor ourselves.
While I can’t do much in the way of framing and drywall, I knew I could paint. I naively said I would paint the entire basement once the team was done drywalling. I love to paint, it’s in my blood—my mother has painted every room of every house we’ve ever lived in at least once. But I was not prepared for the amount of painting that went into our basement. I primed and painted every door, every ceiling, every wall, and every scrap of trim. I worked well into the wee hours of the night to save us a few thousand dollars. Would I do it again? Maybe…And lest you think Mike unhelpful in the process, he too also grew up painting every surface of every house, but unlike me, he has no desire to do it again. He would have gladly shelled out the additional money. In the end, I won out; I love a good challenge.
The bedroom walls are Sherwin Williams Magnetic Gray and Mike’s room is Sherwin Williams Illusive Green. The main living spaces are painted in a Sherwin Williams tan the name of which I can’t remember! I do know it’s very similar to my upstairs, much of which is painted in Benjamin Moore Manchester Tan.
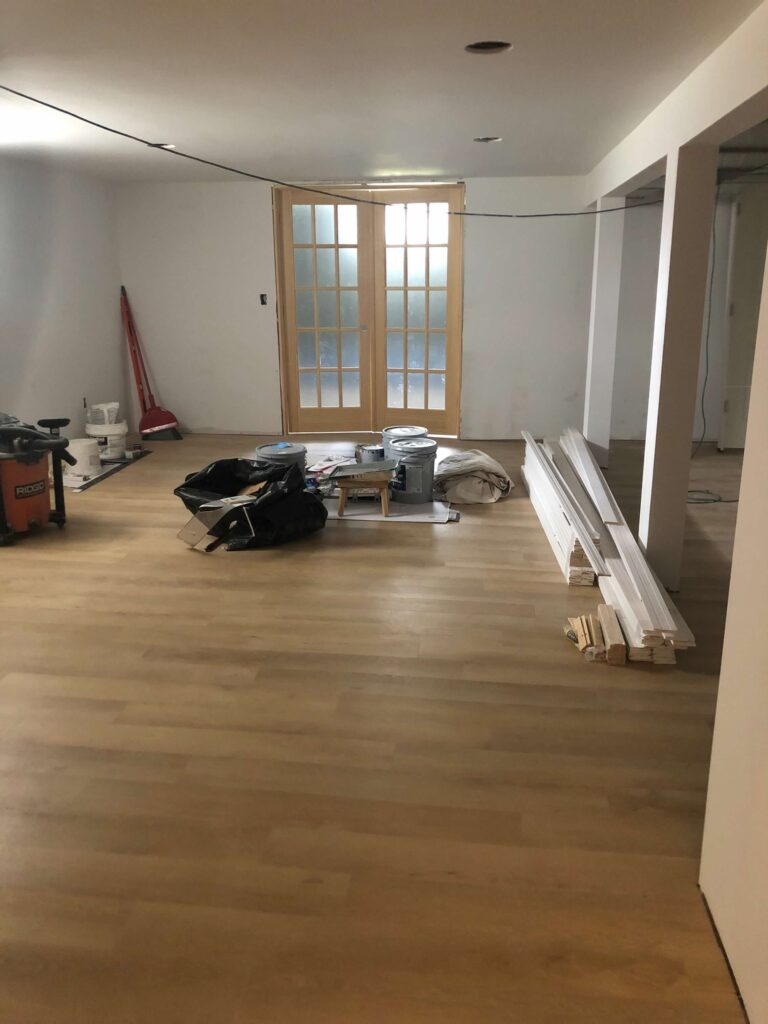
After the ceiling and walls were painted, the team installed vinyl plank flooring from Flooret (another cost savings for actually very high-quality flooring). The floor has taken a beating but barely shows it. The kids have roller-bladed, skateboarded, and wrestled on it and for the most part, it looks as good as new!
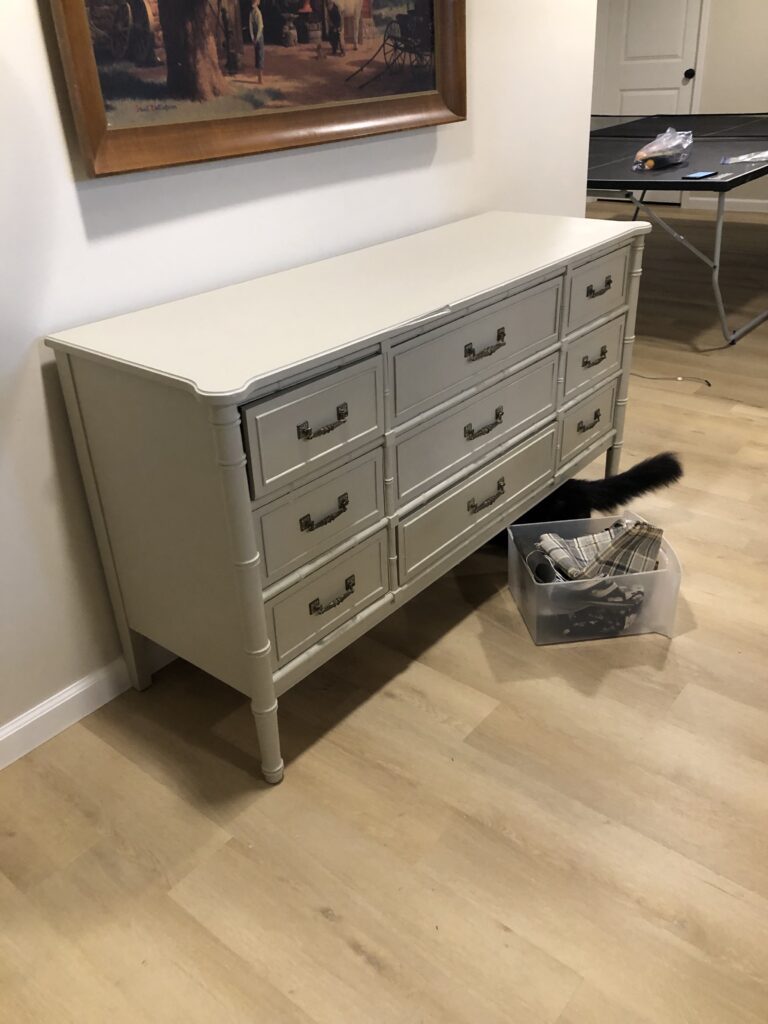
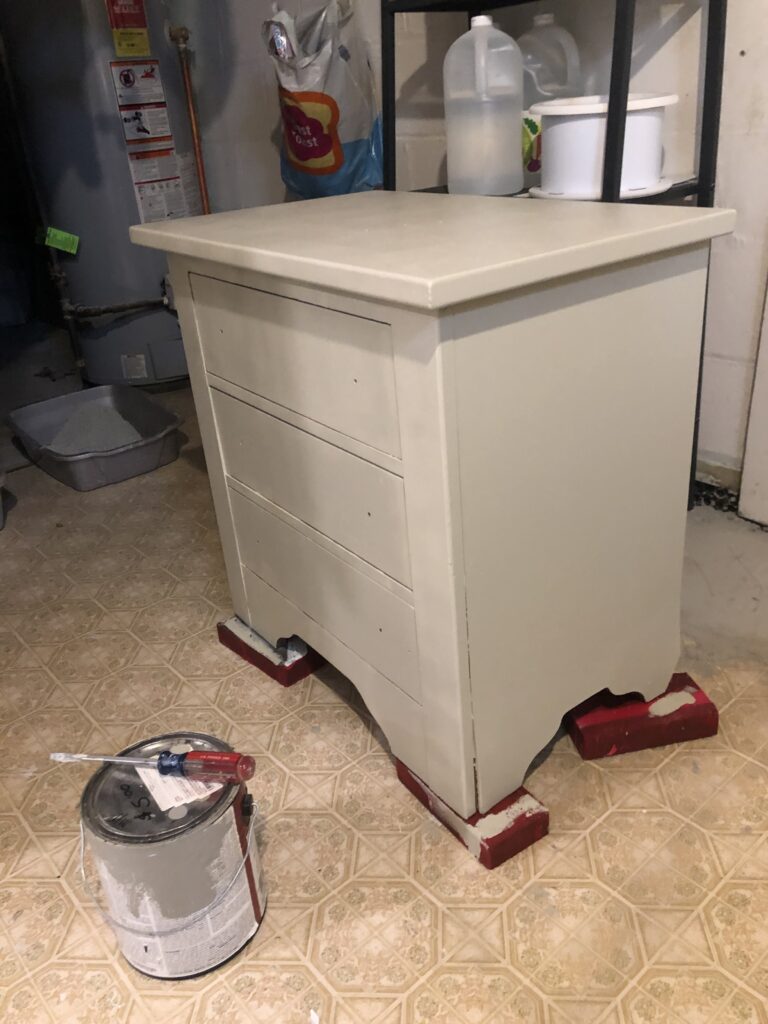
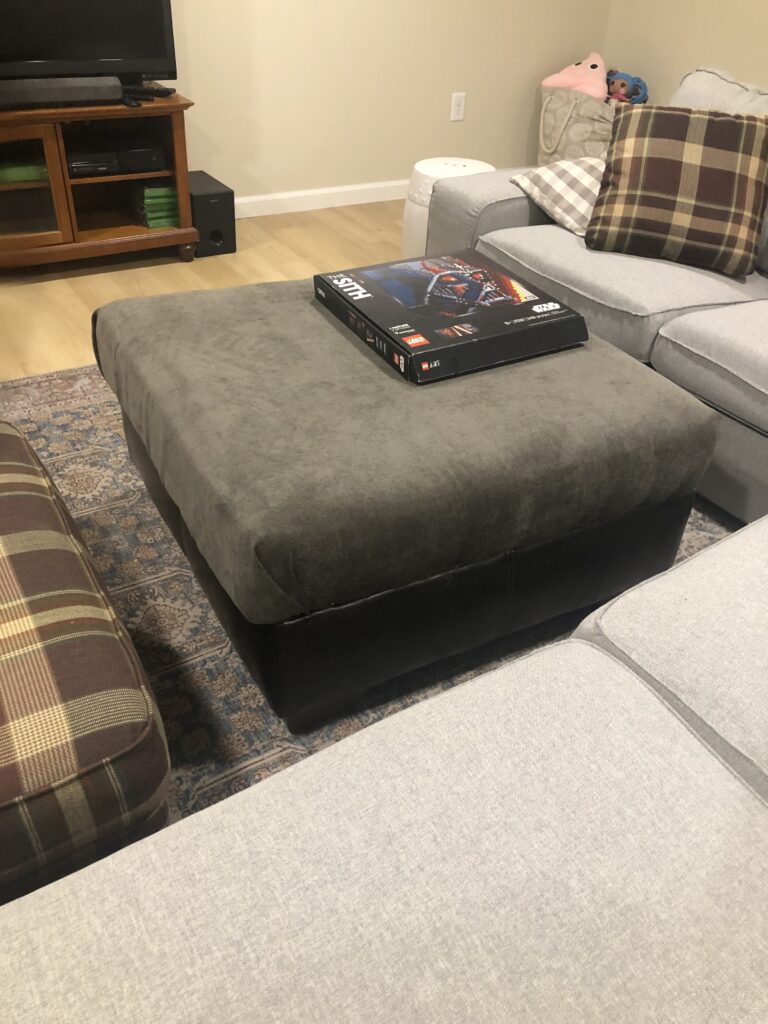
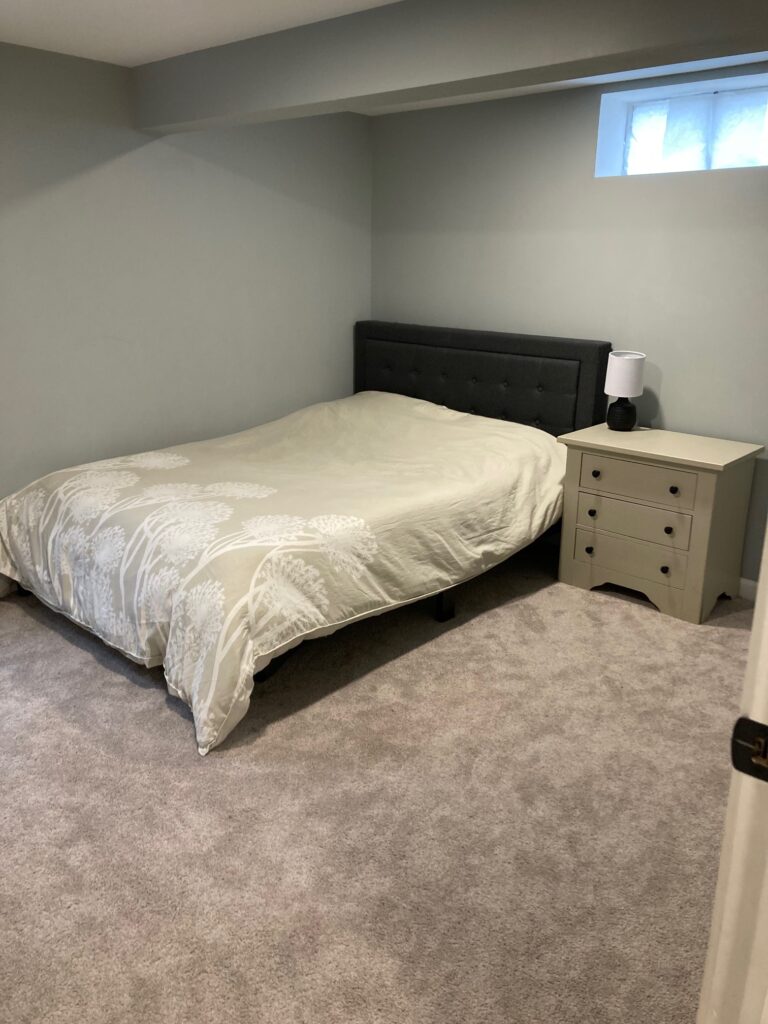
We bought a couch, chair, and shelving units from Ikea, and the rest has been acquired in my typical fashion: hand-me-downs and trash picking, plus a few furniture flips. Mike fielded my typical frantic texts, “There’s the perfect dresser on the curb. Can you go pick it up?” And he did. The brand-new, in-box bed frame in the guest room was a Facebook Marketplace find (the bed company had accidentally sent two beds to the seller and didn’t want the extra one back. Their loss our gain!). I bought the mattress the day of Gray’s first sleepover in the space. “This is the easiest sale you’ll make today,” I told the mattress salesman. “I’ve got a sleepover happening in about 30 minutes and I need a mattress to go.”
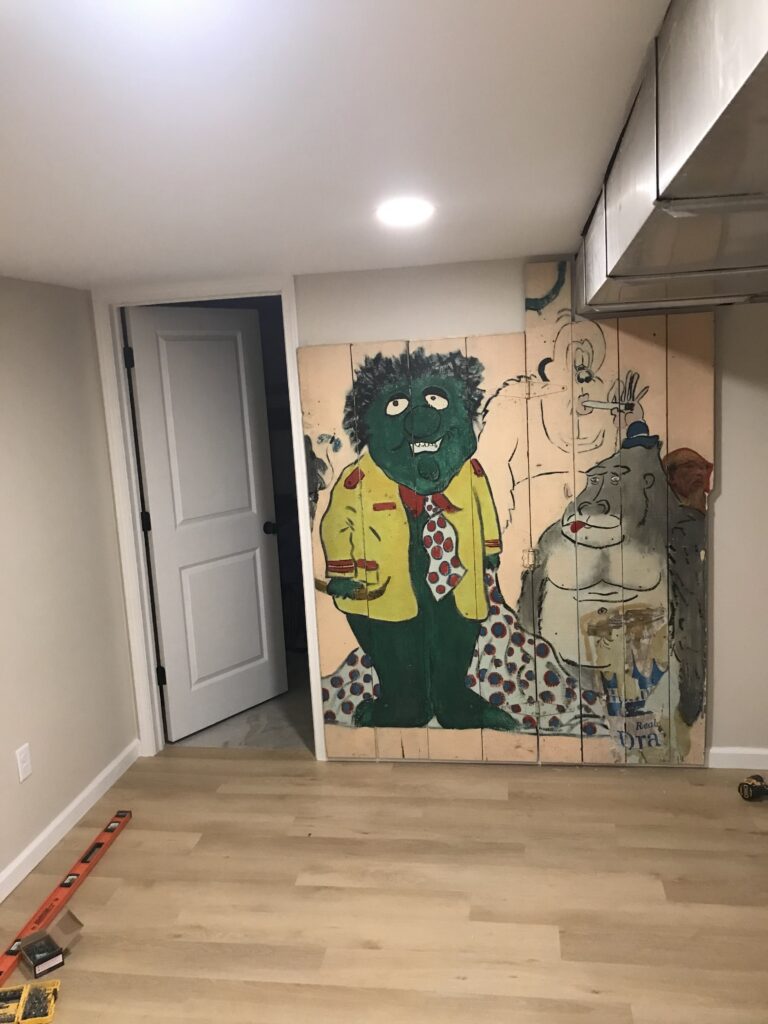
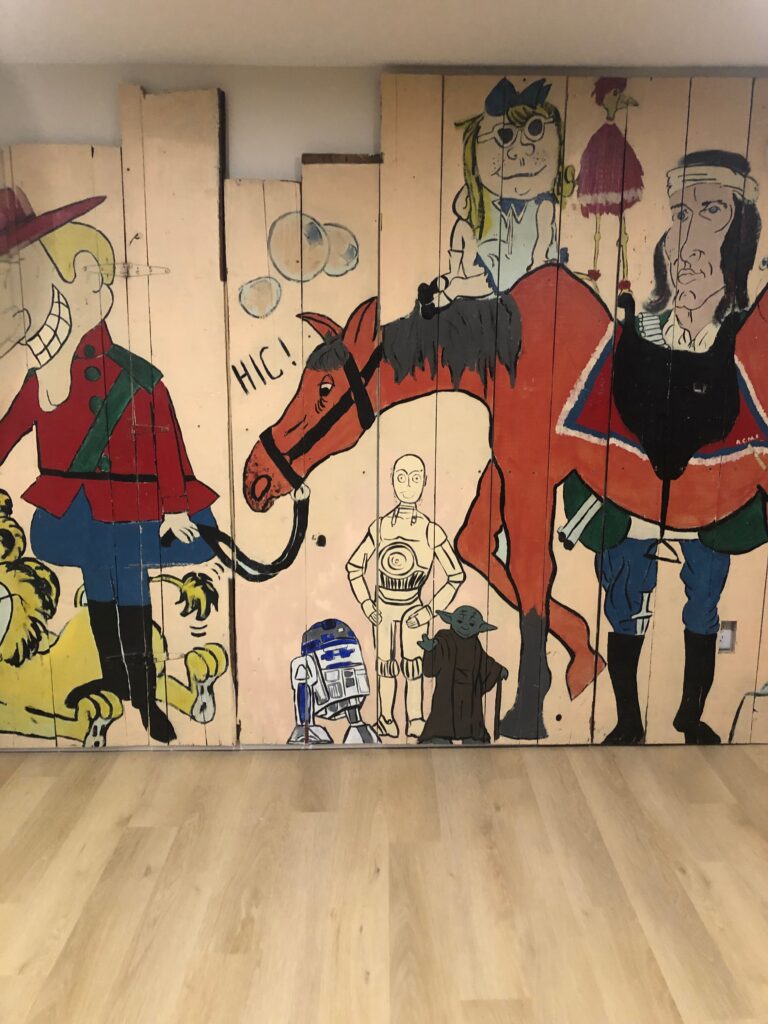
A few months after we finished the basement, Mike drove to his late-grandmother’s house in Calumet City to rescue a mural his dad had painted in his parent’s basement as a child. For as long as I’ve known Mike, he has always wanted this mural in our house as a reminder of his dad. Braeden was able to install each piece on a track, so that the mural doesn’t damage the drywall and can be easily removed should we ever move (not likely at this point!). The mural is quirky and weird but means so much to Mike. The big green guy is a caricature of John’s younger brother, Paul. I love getting a glimpse into 10-year-old John’s brain, even though I recently painted over a few less savory characters with Star Wars ones!

As with all projects, there’s always more we can do. We still have yet to finish the laundry room (the interior is drywalled, but the floor is still the old linoleum). We have two other storage spaces in which I’d like to seal and paint the walls. But for now, no one looks at them and they are fine as is. Plus, I’m not sure I’ve quite recovered from that week of nonstop painting. I will say, though, that there’s very little I would do differently about the project. The biggest thing that sticks out in my mind is the type of paint I selected for the basement. In my upstairs I’ve always used Benjamin Moore Regal Select paint, which is washable and incredibly durable. In the basement I scrimped a little bit and have already had to paint over a few kid messes. Live and learn, I guess!
Prior to the basement, we had replaced our HVAC and gutters, laid all new hardwood flooring upstairs (and refinished existing floors to match) and did a few kitchen upgrades. The basement was our most extensive, and therefore, most expensive home project to date. Since I’m always curious about how people afford major remodels, I thought I’d share the route we took. We saved up what was to us a huge amount of money (~$30,000). Unbeknownst to us at the start of the project, those dollars would quickly be swallowed up by waterproofing, foundation repair, and other prep work. We ended up taking out a HELOC for the remaining cost, much to my debt-averse self’s chagrin. We’ve been steadily overpaying the balance and the end is in sight, so I’ve made peace with it, for the most part 🙂
While it would have been entirely cheaper to live with our concrete basement for even longer, or to somehow learn how to DIY it ourselves over time, I am still so happy to have worked with our neighbor and invested in making our home the place where we’re thrilled to spend time.
What’s next for Casa Freyman? Last summer I came home from work one day to this…